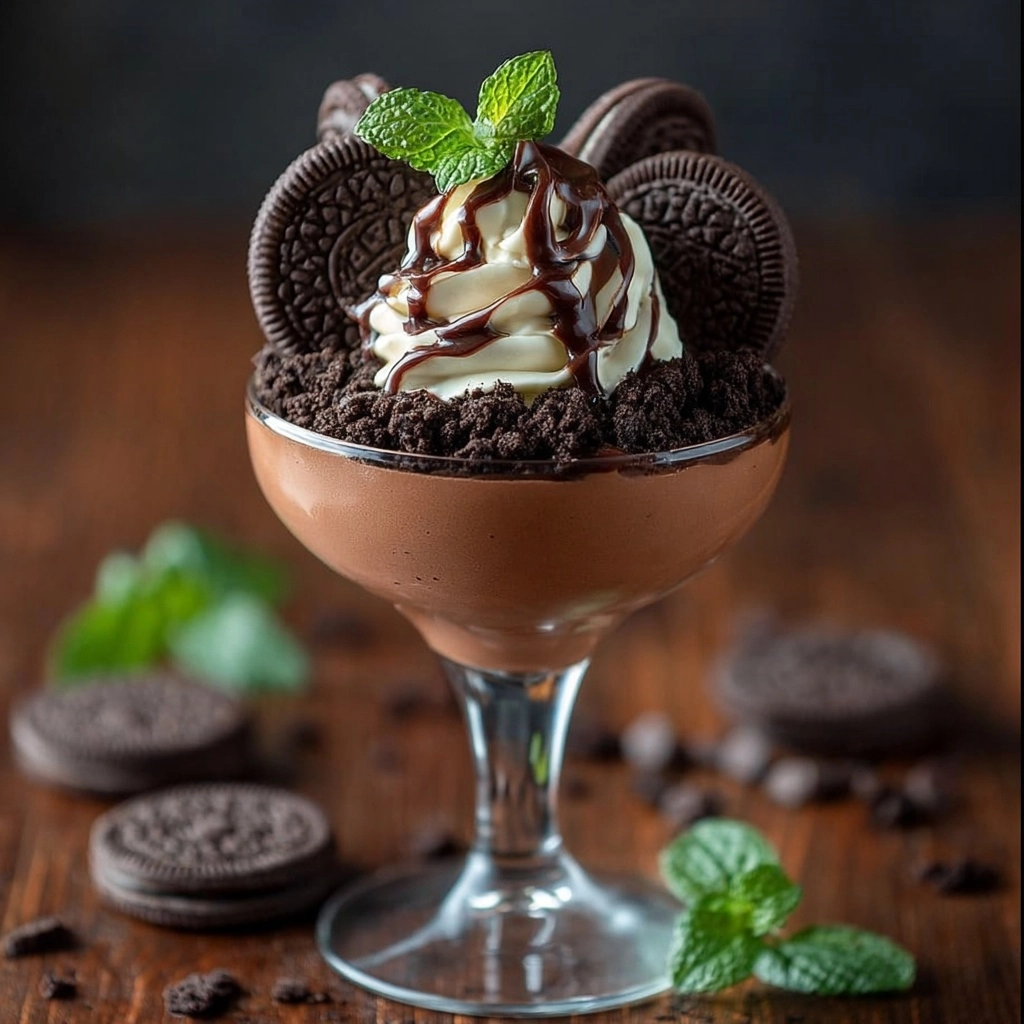
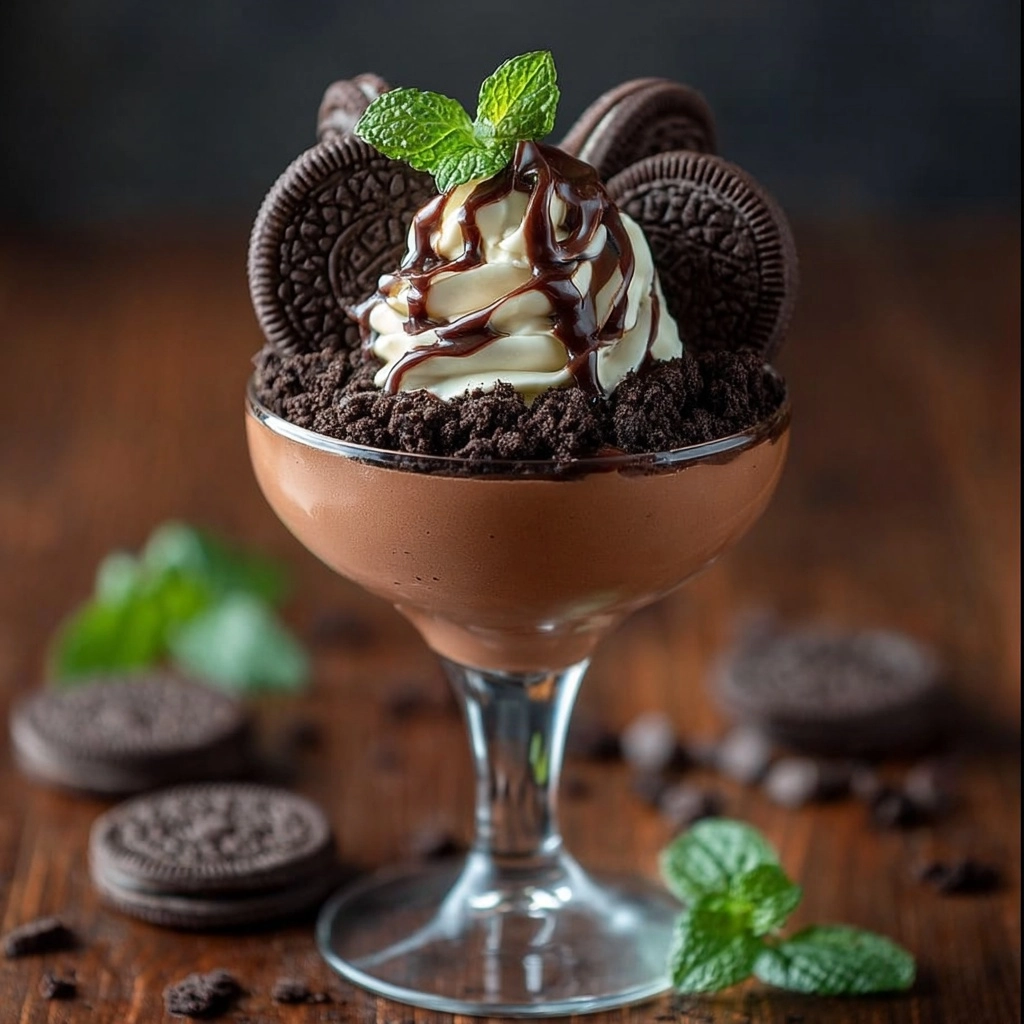
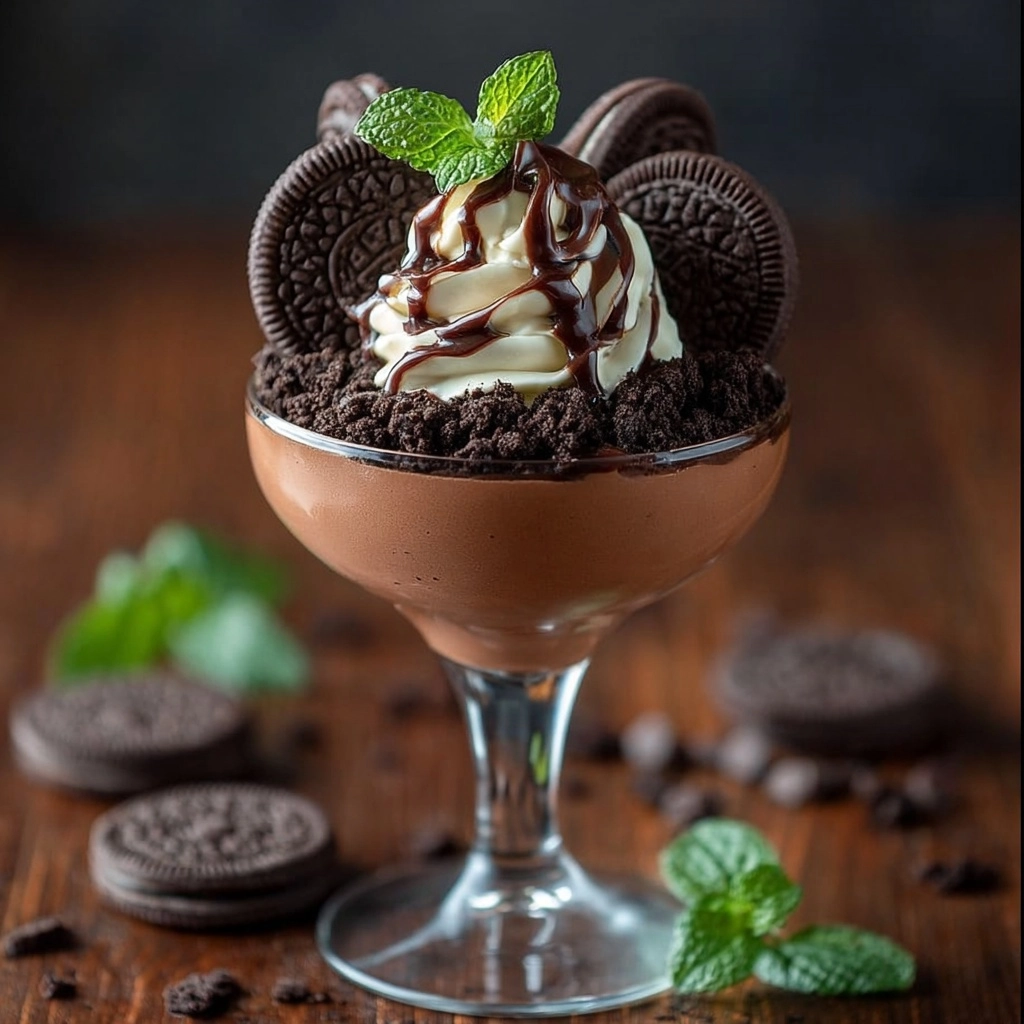
If your wildest dessert dreams ever included layers of creamy chocolate, crunchy cookies, and billows of whipped cream all in one adorable cup, you’re about to meet your new favorite: Oreo Chocolate Mousse Cups. This showstopping treat comes together with just the right balance of rich chocolate mousse, buttery Oreo crumble, and playful garnishes to make every bite feel like a little celebration. Whether you’re dazzling guests at a party or simply treating yourself to a weeknight delight, these mousse cups deliver big on both flavor and fun.

Ingredients You’ll Need
Oreo Chocolate Mousse Cups manage to taste gloriously decadent with a wonderfully simple lineup of ingredients. Each one serves a purpose—giving the dessert its signature texture, taste, and depth of flavor—so don’t be tempted to skimp! Here’s what you’ll need for every luscious layer.
- Oreo cookies: The heart and soul of these mousse cups, providing that signature chocolatey crunch and irresistible nostalgia in every bite.
- Melted butter: Helps those crushed Oreos set into a delightfully firm base—like cheesecake crust, but quicker and easier.
- Dark or milk chocolate: For the mousse; pick your favorite for a more intense or mellow chocolate flavor.
- Cocoa powder: Deepens the chocolate notes, giving a bakery-worthy depth to the mousse.
- Sugar (optional): Adds just the right sweetness, especially useful if you use a darker chocolate.
- Heavy cream (chilled): Whips up beautifully fluffy for an irresistibly light mousse texture.
- Egg whites (optional): If you’re craving extra fluffiness, folding in whipped egg whites gives the mousse added lift and airiness.
- Whipped cream: The classic crowning glory—soft, sweet, and creamy.
- Extra Oreo cookies: Halved and perched on top for a finishing touch (and a little extra crunch).
- Chocolate sauce: For a shiny, decadent drizzle that makes everything look even more tempting.
- Fresh mint leaves: Just a sprig instantly elevates the whole cup, making it look fresh and elegant.
- Extra Oreo crumbs: A final sprinkle for texture and style—because you can never have too many Oreos.
How to Make Oreo Chocolate Mousse Cups
Step 1: Prepare the Oreo Base
Start by grabbing those iconic Oreo cookies and crushing them to a fine crumb—either the gentle way with a rolling pin and a zip-top bag, or the satisfying way with a food processor. Mix the crumbs with melted butter until you have a texture that clumps together when pressed. Spoon a thin, even layer of this buttery crumble into the bottom of each dessert glass and press down gently with the back of your spoon. This base will give each serving that addictive cookies-and-cream snap at the very bottom.
Step 2: Make the Chocolate Mousse
For the star of your Oreo Chocolate Mousse Cups, it’s all about building that velvety, chocolatey mousse. Start by melting your chosen chocolate over a gentle double boiler or in the microwave in short bursts, stirring until it’s gorgeously silky. Let it cool just a bit so it won’t melt your whipped cream. In a bowl, whip the heavy cream until soft peaks form, and if you love a lighter mousse, beat your egg whites to stiff peaks in a separate bowl. Fold the cocoa powder and slightly cooled melted chocolate into the whipped cream, then, for extra fluffiness, gently incorporate the whipped egg whites. Layer this cloud-like mousse on top of your Oreo base, filling each cup generously. Now the hardest part—cover and chill them in the fridge for at least 2 hours, letting all those flavors mingle and the mousse firm up.
Step 3: Garnish & Serve
When you’re ready to serve, it’s time for the most fun part: turning each cup into a mini masterpiece. Swirl or pipe a luscious crown of whipped cream over the chilled mousse. Slide in half an Oreo cookie for drama, drizzle with glossy chocolate sauce, and finish with a scattering of extra Oreo crumbs. A fresh mint leaf makes everything pop and gives your Oreo Chocolate Mousse Cups that final flourish. Grab dessert spoons and present these beauties with pride—they’re ready to dazzle!
How to Serve Oreo Chocolate Mousse Cups

Garnishes
Garnishes are where you can really let your creativity shine. A billow of pillowy whipped cream is non-negotiable—it’s not just pretty, it adds creaminess to every spoonful. Nestle a halved Oreo upright for a playful touch and drizzle with as much chocolate sauce as your heart desires. A sprinkle of extra Oreo crumbs brings texture and that unmistakable cookies-and-cream vibe, while a sprig of fresh mint instantly makes each glass look fresh and inviting.
Side Dishes
These Oreo Chocolate Mousse Cups are absolutely the main event when it comes to dessert, but that doesn’t mean they can’t play well with others. Serve them alongside an espresso for a sophisticated pick-me-up or pair with a glass of red wine for an extra elegant feel. If you want something lighter on the side, a simple fruit salad, chocolate-dipped strawberries, or even a little bowl of salted nuts can really round out the indulgence.
Creative Ways to Present
Presentation can be half the fun. Use small mason jars, wine glasses, or even sturdy shot glasses for cute individual portions. For a party, try assembling them in a large trifle bowl for a big, family-style serve—just layer everything and let guests scoop their portions. If you want to add a twist, swirl a bit of coffee or Baileys into the mousse before chilling for a grown-up spin on the classic Oreo Chocolate Mousse Cups. Decorative sprinkles, gold leaf, or chocolate curls also make wonderful garnishes for a festive feel.
Make Ahead and Storage
Storing Leftovers
If (and that’s a big if) you have any leftovers, these mousse cups keep beautifully in the fridge. Cover each cup with plastic wrap or a tight lid to prevent them from picking up other fridge odors. The texture stays luscious for up to 2 days, and the Oreos at the base keep a delightful contrast between creamy and crunchy.
Freezing
You might be tempted to freeze your Oreo Chocolate Mousse Cups for longer storage, and you definitely can! Just leave off the whipped cream and fresh toppings until you’re ready to serve. Freeze each cup tightly covered for up to one month. Defrost overnight in the refrigerator—this keeps the mousse smooth and creamy rather than icy or grainy.
Reheating
These dreamy mousse cups are meant to be enjoyed cold, so reheating isn’t required. If you’ve frozen them, just let them thaw gently in the fridge until they’re soft and creamy again before topping and serving. For the best texture, don’t attempt to microwave—they really do shine straight from the refrigerator.
FAQs
Can I make Oreo Chocolate Mousse Cups without eggs?
Absolutely! The egg whites are optional and simply add extra fluffiness, but the mousse turns out rich and creamy even without them. Just focus on properly whipped cream for that ultra-smooth texture.
What type of chocolate works best for this recipe?
Both dark and milk chocolate work wonderfully—choose based on your own chocolate cravings! Dark chocolate delivers a richer, slightly bittersweet mousse, while milk chocolate keeps things smooth and sweet. Sometimes blending both gives a perfect balance.
How far ahead can I prepare these mousse cups?
Oreo Chocolate Mousse Cups are brilliant for making in advance; they’ll happily stay fresh and delicious in the fridge for up to 2 days before serving. They’re perfect for stress-free entertaining or prepping dessert a night ahead.
Do the Oreo bases get soggy if made ahead?
No need to worry—a slight softening happens, but the base stays wonderfully textural for a couple of days, making each bite creamy with a hint of cookie crunch. The butter helps seal the crumbs, maintaining that lovely contrast.
Can I add flavors to the mousse base?
You sure can! A splash of espresso, Baileys, or vanilla gives the mousse a delicious twist. Orange zest or instant coffee powder also make fantastic add-ins if you’re in the mood for something extra special in your Oreo Chocolate Mousse Cups.
Final Thoughts
There’s something irresistibly joyful about digging your spoon into these Oreo Chocolate Mousse Cups—from the first hint of cookie crunch to the last cloud of creamy chocolate. They’re simple to make, easy to customize, and guaranteed to put a smile on anyone’s face. Give them a try, and don’t be surprised if they quickly become your go-to show-off dessert!


https://shorturl.fm/oz5Z6
https://shorturl.fm/A9ugJ
https://shorturl.fm/8UeZg
https://shorturl.fm/dHS7C
https://shorturl.fm/6EQVf
https://shorturl.fm/wm26A