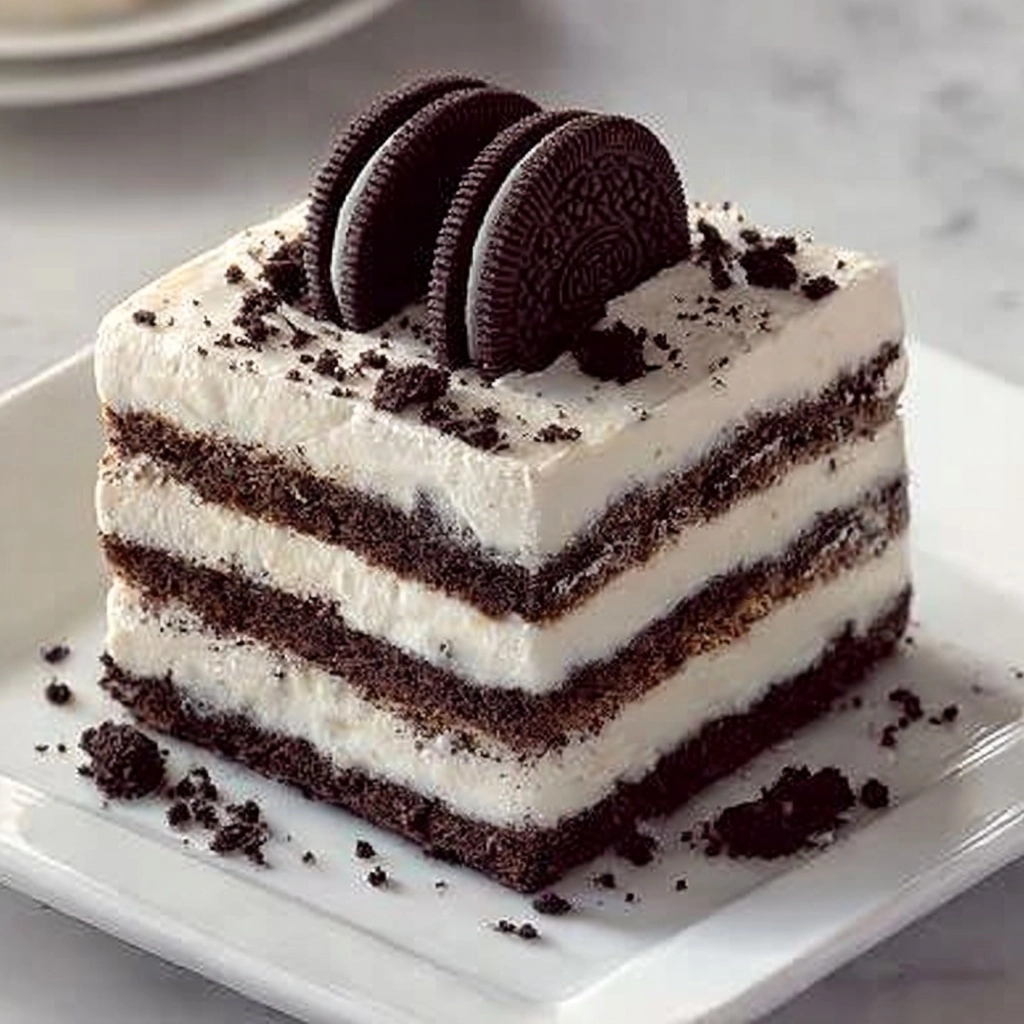
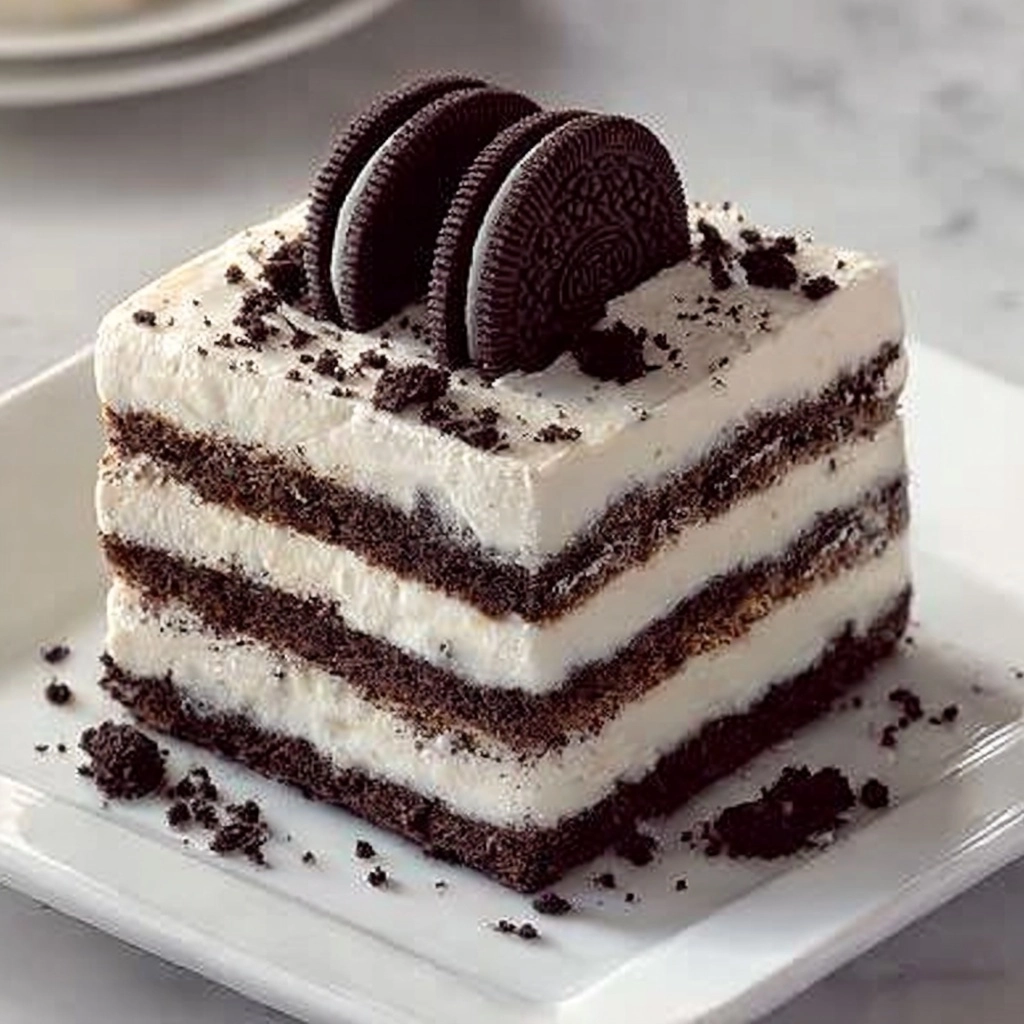
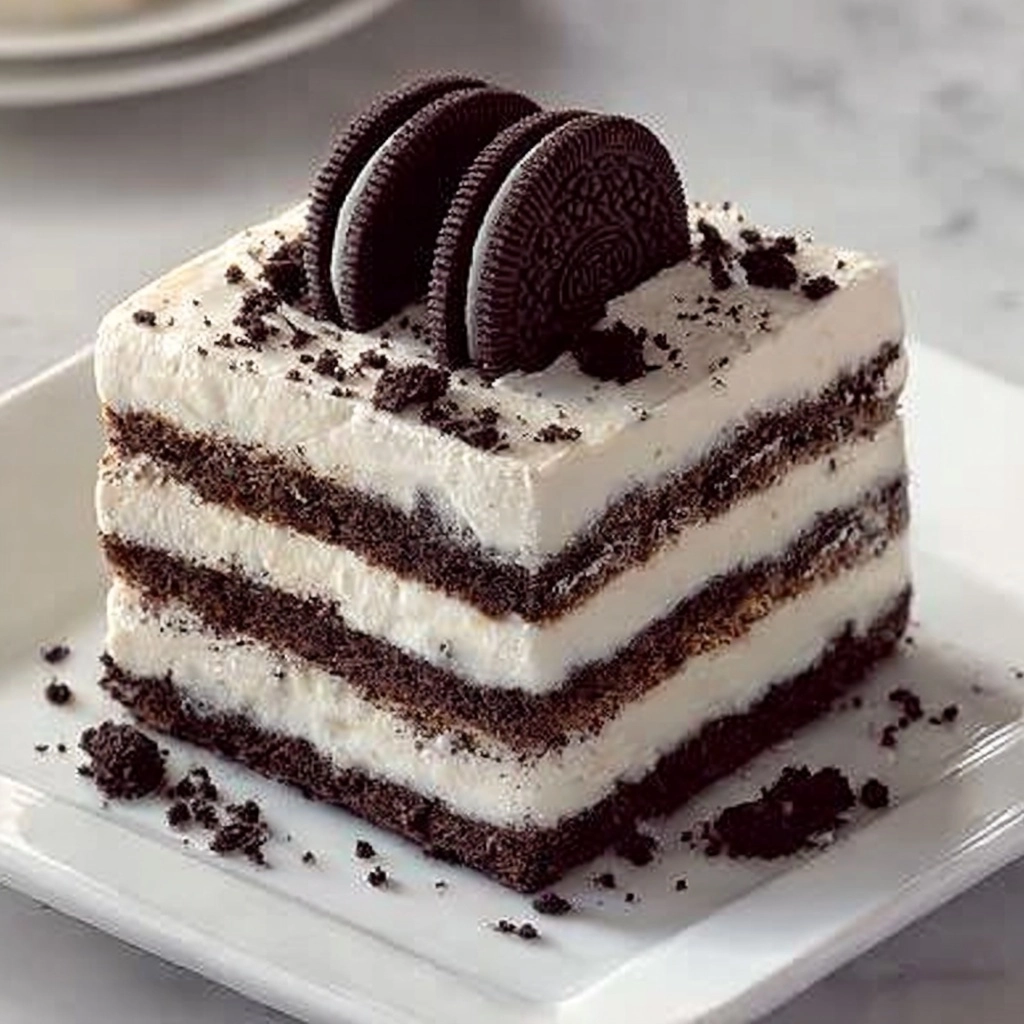
Baking up an Oreo Vanilla Cake is like orchestrating a joyful parade of flavors and textures that make every bite irresistible. Imagine fluffy vanilla sponge layers, a voluminous and creamy vanilla filling, all swirled and studded with crunchy bits of Oreo cookies, topped with that signature cookies-and-cream magic. This cake is perfect for birthdays, celebrations, or any day you want to impress family and friends with a glorious dessert that looks bakery-worthy but feels totally homemade.

Ingredients You’ll Need
There’s nothing overly complicated here, just a handful of pantry staples and a few treats that play a crucial role in making this Oreo Vanilla Cake stand out. Each ingredient brings its own touch—whether that’s dreamy softness, creamy richness, or that unmistakable cookies-and-cream finish.
- Eggs: Provide structure and help create a light, lofty sponge for the cake layers.
- Granulated sugar: Sweetens both the cake and cream, and contributes to a tender crumb.
- All-purpose flour: The all-star base for both the sponge cake and the creamy filling.
- Baking powder: Ensures the sponge bakes up tall and fluffy.
- Vanilla extract: Adds warmth and the true essence of vanilla in every component.
- Milk: Creates a gorgeous, silky-smooth custard for the filling.
- Cornstarch: Thickens the cream and keeps it lush rather than runny.
- Egg yolk: Enriches the cream, adding a golden hue and velvety texture.
- Butter: Adds shine and rounds out the flavor of the vanilla cream.
- Cold whipping cream: Gets whipped to fluffy heights for the final dreamy texture.
- Oreo cookies: The star add-in, for that cookies-and-cream twist in every forkful.
- White chocolate shavings or drizzle (optional): An elegant finishing touch for visual appeal and extra decadence.
- Crushed Oreos or biscuit crumbs (optional): Pressed onto the sides for crunch and flair.
How to Make Oreo Vanilla Cake
Step 1: Prepare the Sponge Cake Layer
Start by preheating your oven to 170°C (340°F), giving it plenty of time to warm up. In a large bowl, whisk together the eggs and sugar for a full five minutes—don’t skimp here, because aerating the mixture is what gives your sponge its pillowy texture. Sift in the flour, baking powder, and vanilla extract, then gently fold until there are no dry streaks left. Pour the batter into an 8-inch cake pan you’ve prepped with a swipe of butter and parchment. Bake for about 30 minutes, or until a toothpick emerges clean. Allow your golden beauty to cool completely before slicing into layers (aim for two or three even slices depending on your preference and skill!).
Step 2: Cook the Creamy Vanilla Filling
Meanwhile, it’s cream time! In a saucepan, combine the milk, flour, cornstarch, sugar, and egg yolk. Whisk well to avoid lumps. Cook over medium heat, stirring constantly until the mixture thickens up into a pudding-like custard. Remove from the heat, stir in your butter and vanilla extract, and blend until smooth. Let this luscious mixture cool all the way down—it should be at room temperature before you proceed.
Step 3: Whip and Fold the Cream
Once your custard has cooled, whip the cold whipping cream in a separate bowl until soft peaks form. Gently fold the whipped cream into the custard, working slowly so you don’t deflate all that beautiful air. Now it’s time for the magic: fold in plenty of crushed Oreo cookies. Mix just until the cookies are streaked through, so you get patches of tasty Oreo in every slice.
Step 4: Assemble and Decorate Your Oreo Vanilla Cake
Lay your first sponge layer onto a serving plate. Spread a thick layer of Oreo-studded cream over the top. Repeat with your remaining cake layers and cream, stacking as you go. Once you’ve placed the final layer, use the rest of the cream to frost the top and sides. Decorate with a generous handful of chopped Oreos, white chocolate shavings, or a drizzle of melted white or dark chocolate for that bakery look.
Step 5: Refrigerate for Best Results
Don’t skip this step: chilling allows all the flavors to meld and the cake to slice beautifully. Cover your Oreo Vanilla Cake and refrigerate for at least four hours or (even better) overnight. This makes it the perfect make-ahead treat.
How to Serve Oreo Vanilla Cake

Garnishes
Let’s not underestimate the power of a great garnish. Pile extra Oreo pieces on top, arrange them artfully along the edge, or sprinkle with a dusting of white chocolate shavings for a touch of elegance. For a dramatic finish, a zigzag of melted chocolate across the top instantly transforms your homemade masterpiece into something worthy of a bakery window.
Side Dishes
This cake is perfectly dreamy on its own, but a scoop of vanilla ice cream or a dollop of lightly sweetened whipped cream adds an extra layer of indulgence. Fresh berries or a fruity coulis on the side can cut through the richness and add color as well.
Creative Ways to Present
If you’re feeling playful, try making mini individual Oreo Vanilla Cakes using cupcake molds or assemble the cake in a trifle dish for a spoonable, shareable twist. For a special celebration, press crushed Oreos or biscuits around the sides and pipe on tufts of whipped cream for extra pizzazz.
Make Ahead and Storage
Storing Leftovers
Oreo Vanilla Cake keeps well covered in the fridge for up to four days. I recommend using an airtight cake dome or wrapping slices well in plastic wrap to keep the sponge moist and the cream fresh.
Freezing
If you want to save some for later, you absolutely can! Slice the cake and wrap each piece tightly in plastic wrap and foil. Freeze for up to two months. For best taste and texture, thaw slices in the refrigerator overnight before serving.
Reheating
This cake shines when served cold or at cool room temperature, so there’s no need to reheat. Simply remove it from the fridge 15–20 minutes before serving so the cream softens slightly and the flavors can bloom.
FAQs
Can I use other cookies instead of Oreos?
Absolutely! While Oreos give this Oreo Vanilla Cake its signature flair, you can experiment with other chocolate sandwich cookies or crunchy chocolate biscuits for a fun twist. Just make sure they have a similar texture so you get that iconic cookies-and-cream vibe.
Can I make this cake without eggs?
Yes, you can swap each egg for a commercial egg replacer or a combination of 1/4 cup unsweetened applesauce per egg. Keep in mind the sponge might be slightly denser, but you’ll still get a fantastic result.
How do I keep my sponge cake from getting too dry?
Be careful not to overbake the sponge—the toothpick test is your best friend here. Also, wrapping the cooled layers in plastic wrap while you prepare the filling helps lock in moisture for your Oreo Vanilla Cake.
Can I prepare the cream in advance?
Definitely! You can make the custard part of the cream a day ahead and store it in the fridge. When you’re ready to assemble, just whip the cream and fold it in along with the crushed Oreos.
What’s the best way to crush the Oreos?
Pop them in a zip-top bag and gently crush with a rolling pin for coarse crumbs. If you like bigger chunks in your filling, just break them up by hand. The bits of Oreo are what make this cake so much fun!
Final Thoughts
Every slice of Oreo Vanilla Cake is smiling with creamy filling, tender crumb, and crunchy cookie magic. This is the kind of dessert that disappears quickly at any gathering, so why not treat yourself and your loved ones? Grab your whisk, gather those Oreos, and bake up a cake you’ll want to share (but might secretly want to keep for yourself!).

