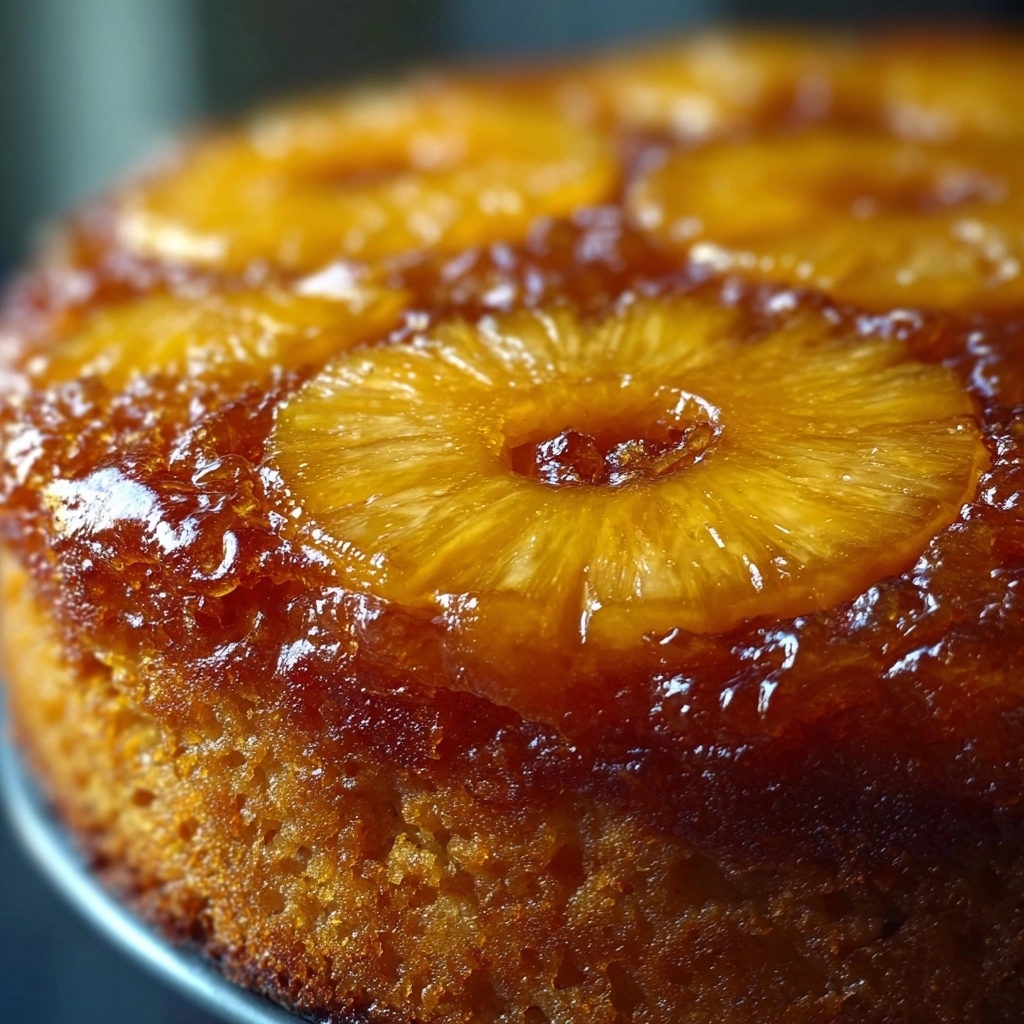
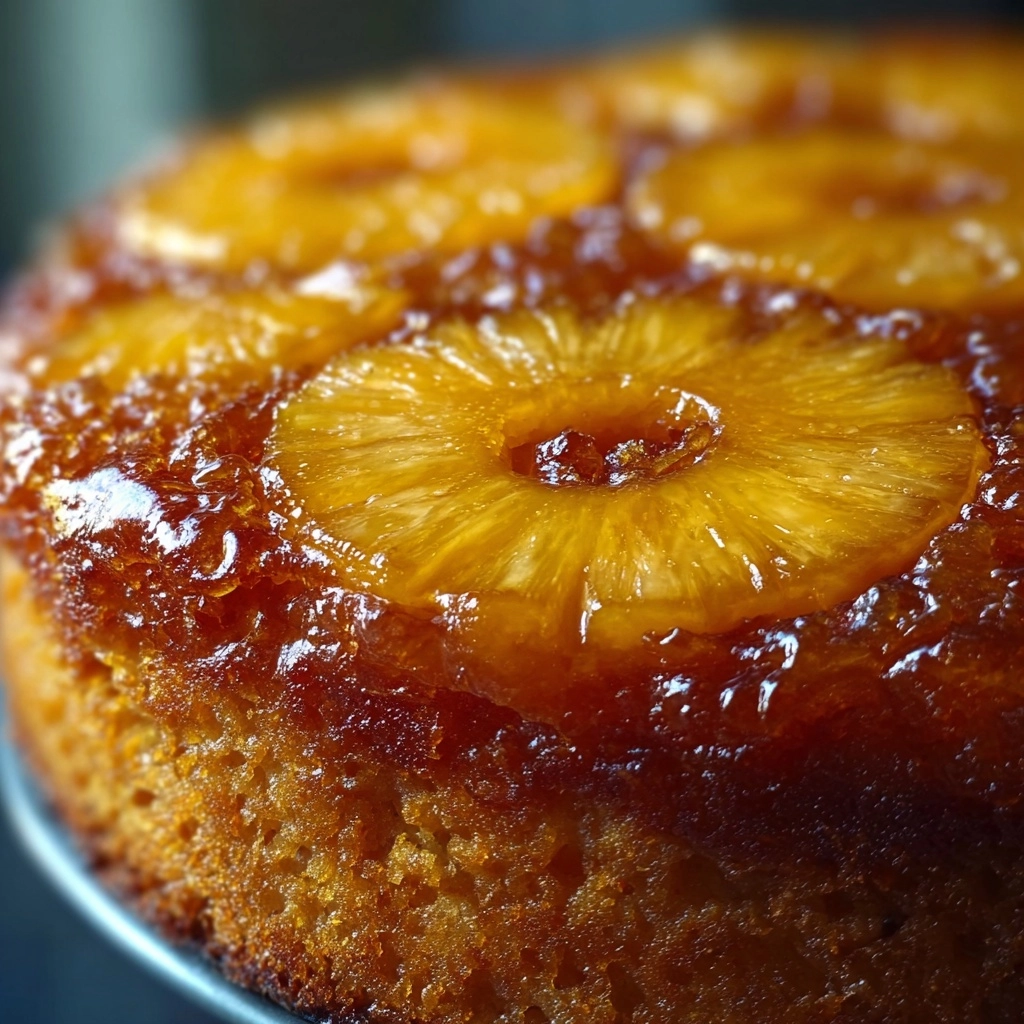
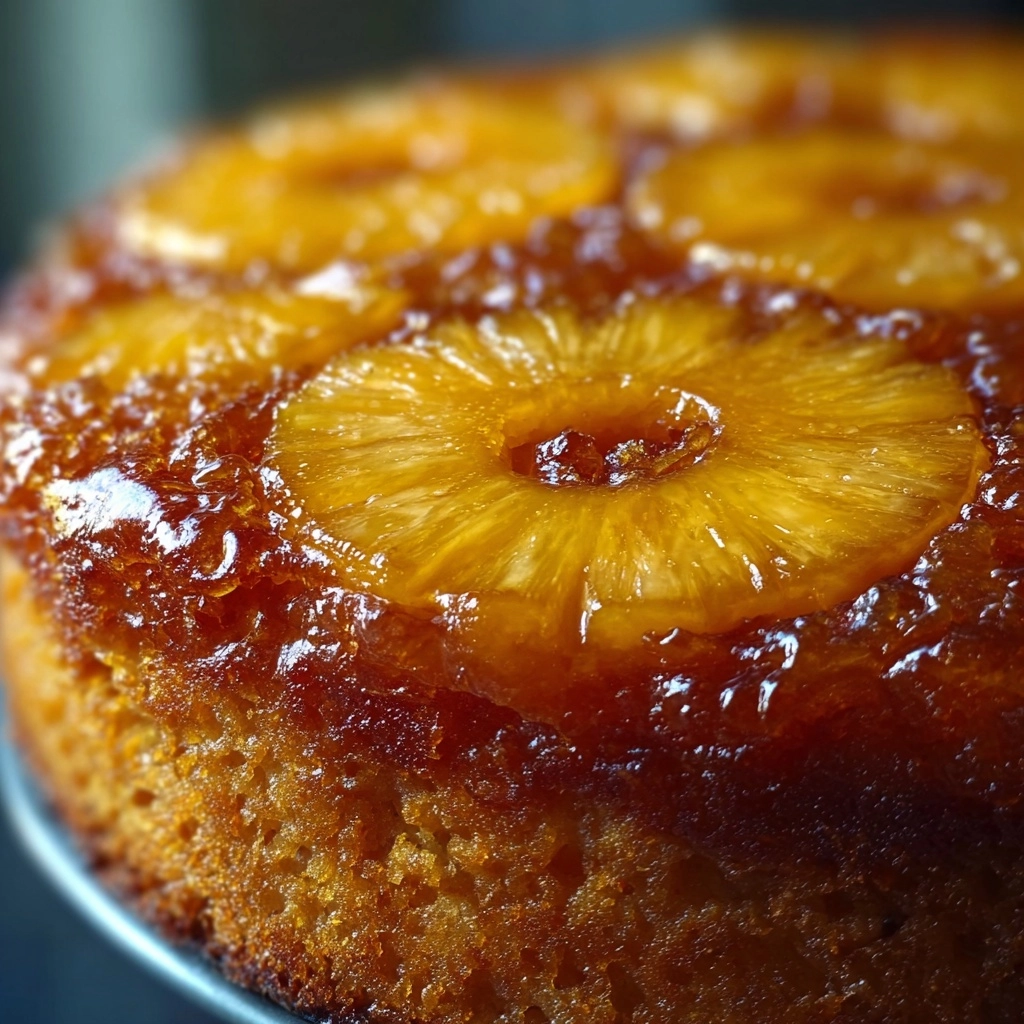
If there’s a dessert that delivers guaranteed smiles and a touch of nostalgia, it has to be Pineapple Upside-Down Cake. This classic treat turns simple pantry staples into a show-stopping centerpiece, thanks to its candy-bright topping of caramelized fruit and luscious cake beneath. Every slice promises juicy pineapple, sweet cherries, and a rich, buttery crumb that’s loved by kids and adults alike. Whether you’re celebrating a special occasion or just want to add sunshine to your day, this Pineapple Upside-Down Cake is the way to do it right.

Ingredients You’ll Need
What makes this cake so special is how each ingredient plays a starring role—the caramelized fruit for beauty and flavor, the tender cake beneath for comfort and nostalgia. As you gather everything together, you’ll see how uncomplicated it is to make a Pineapple Upside-Down Cake that looks (and tastes) absolutely magical.
- Pineapple slices (1 can, 20 oz, drained): These are the jewels of the topping, adding tart-sweet flavor, gorgeous rings, and lovely moisture to your cake.
- Unsalted butter (1/2 cup, melted): Buttery richness ensures the caramel topping melts beautifully and infuses both the pineapple layer and the cake with flavor.
- Brown sugar (1 cup, packed): This is what gives your topping that irresistible caramelized finish with a warm, molasses depth.
- Maraschino cherries (10): Bright, sweet pops of color nestled in pineapple rings make every slice a feast for the eyes!
- All-purpose flour (1½ cups): The structure and body of your cake rely on this everyday staple, for a texture that’s soft but never heavy.
- Granulated sugar (1 cup): This balances the tartness of the fruit and ensures the cake crumb stays light and delicate.
- Baking powder (1½ tsp): Just the right amount of lift creates a fluffy crumb that rises perfectly in the pan.
- Salt (1/2 tsp): A hint of salt intensifies all the sweet, fruity flavors without ever tasting salty.
- Unsalted butter (1/2 cup, softened): For the cake batter itself, this makes everything tender, moist, and just a bit decadent.
- Large eggs (2): Eggs bind your batter, add richness, and help develop that lovely cake structure.
- Whole milk (2/3 cup): Using whole milk adds just the right amount of moisture and richness—don’t substitute with skim for best results.
- Vanilla extract (1 tsp): Quietly enhances both the cake and the fruit-topping with a warm, comforting aroma.
How to Make Pineapple Upside-Down Cake
Step 1: Prep Your Pan and Oven
Preheat your oven to 350°F (175°C). Grab a 9-inch round cake pan—this is the classic shape for Pineapple Upside-Down Cake. Pour the melted butter right into the pan and swirl it around to cover the base. Sprinkle the brown sugar evenly on top of the butter, laying the foundation for that sticky-sweet caramel layer.
Step 2: Arrange the Pineapple and Cherries
Now for the fun, artistic part! Place the pineapple slices over the brown sugar and butter, arranging them so they overlap a little if needed. Pop a maraschino cherry into the center of each pineapple ring. There’s no wrong way—just make it look inviting, since this will be the top of your Pineapple Upside-Down Cake when flipped.
Step 3: Mix the Dry Ingredients
In a medium bowl, whisk together the all-purpose flour, granulated sugar, baking powder, and salt. This quick whisk evenly distributes the leavening and salt, ensuring a tender and well-risen crumb in every slice.
Step 4: Cream Butter and Beat in Eggs
In a separate large mixing bowl, beat the softened butter until it’s creamy and pale. Add the eggs one at a time, beating well after each addition. This gives the cake structure and helps create a batter that’s airy and ready to rise.
Step 5: Add Milk and Vanilla
Stir in the whole milk and vanilla extract, mixing until smooth and well combined. You’ll notice the batter starts to look creamy and luxurious—exactly what you want for a decadent Pineapple Upside-Down Cake.
Step 6: Combine Wet and Dry Ingredients
Gradually add the dry ingredients to your wet mixture, stirring just until the flour disappears. Be gentle here—a few lumps are fine! Overmixing can lead to a tough cake, so stop as soon as everything is combined for that melt-in-your-mouth soft crumb.
Step 7: Assemble and Bake
Carefully pour the batter over your pineapple and cherry arrangement. Use a spatula to gently spread it into an even layer, covering all the fruit. Slide the pan into your preheated oven and bake for about 45 minutes. You’ll know it’s done when a toothpick inserted in the center emerges clean and the top is lightly golden.
Step 8: Invert and Cool
Let the cake cool in the pan for about 10 minutes. Take a deep breath—here comes the dramatic part! Run a knife around the edge, then quickly invert the cake onto a serving plate. The caramelized pineapples and glistening cherries will be revealed on top. Let the cake cool to set the topping before slicing for best results.
How to Serve Pineapple Upside-Down Cake

Garnishes
The crowning beauty of Pineapple Upside-Down Cake hardly needs anything extra, but a soft dollop of whipped cream or a small scoop of vanilla ice cream brings out the buttery richness. A light sprinkle of toasted coconut or a tuft of fresh mint can make your presentation even more inviting.
Side Dishes
Keep things simple and fresh! A fruit salad featuring berries and citrus, or a citrusy green salad, balances the sweetness of the cake. If you’re feeling decadent, serve alongside a cold pitcher of fruity iced tea or a sparkling prosecco for grown-up celebrations.
Creative Ways to Present
While the classic round cake is a show-stopper, you can get playful! Try baking Pineapple Upside-Down Cake as individual cupcakes or in mini skillets for single servings. You can even cut the cake into wedges, layer with whipped cream and extra fruit, and serve as parfaits in glasses for a fun twist.
Make Ahead and Storage
Storing Leftovers
Wrap any remaining Pineapple Upside-Down Cake tightly in plastic wrap or transfer to an airtight container. It will keep well at room temperature for up to 2 days or in the refrigerator for up to 4 days. The topping might get a bit softer, but the flavor only deepens!
Freezing
If you want to freeze slices, wrap them individually in plastic and then place in a zip-top freezer bag. The cake will stay delicious for up to a month. To serve, thaw overnight in the fridge or gently on the counter, then warm up before enjoying again.
Reheating
To restore that fresh-baked taste, warm individual slices of Pineapple Upside-Down Cake for 10–15 seconds in the microwave. If reheating the whole cake, cover loosely with foil and place in a low oven (300°F) for about 10 minutes. It’ll taste as comforting and aromatic as the day you made it!
FAQs
Can I use fresh pineapple instead of canned?
Absolutely! Fresh pineapple adds a wonderfully bright flavor. Just cut it into rings or tidbits, and pat dry with paper towels to remove excess moisture before arranging in the pan.
What’s the best way to invert the cake without it sticking?
Let the cake cool for 10 minutes after baking, then run a knife around the edge. Place your serving plate over the pan, grip both firmly, and flip in one swift motion. If any fruit sticks, just nudge it back into place—it’ll still look and taste fantastic!
Why did my cake turn out soggy?
This usually happens if the pineapple isn’t well-drained or if there’s too much juice in the pan. Be sure to pat your pineapple slices dry before using, and stick to the recipe’s measurements for butter and sugar in the topping.
Can I bake Pineapple Upside-Down Cake in a square or rectangular pan?
Of course! The recipe works in an 8×8-inch square pan, a 9×9, or even a 9×13 for thinner slices. Just be sure to watch the baking time—thinner cakes may bake faster, so check a few minutes early with a toothpick test.
Is this recipe suitable for making ahead for a party?
Definitely! The flavor of Pineapple Upside-Down Cake actually improves after a few hours or overnight, so feel free to bake it the day before. Store covered and unmold just before serving for the prettiest result.
Final Thoughts
This Pineapple Upside-Down Cake is one of those magical recipes that looks impressive but is surprisingly simple to make. Its sunny, retro glamour and juicy-sweet flavor are bound to win hearts at any table. Give it a try—you might just find it becomes your own signature treat, too!

