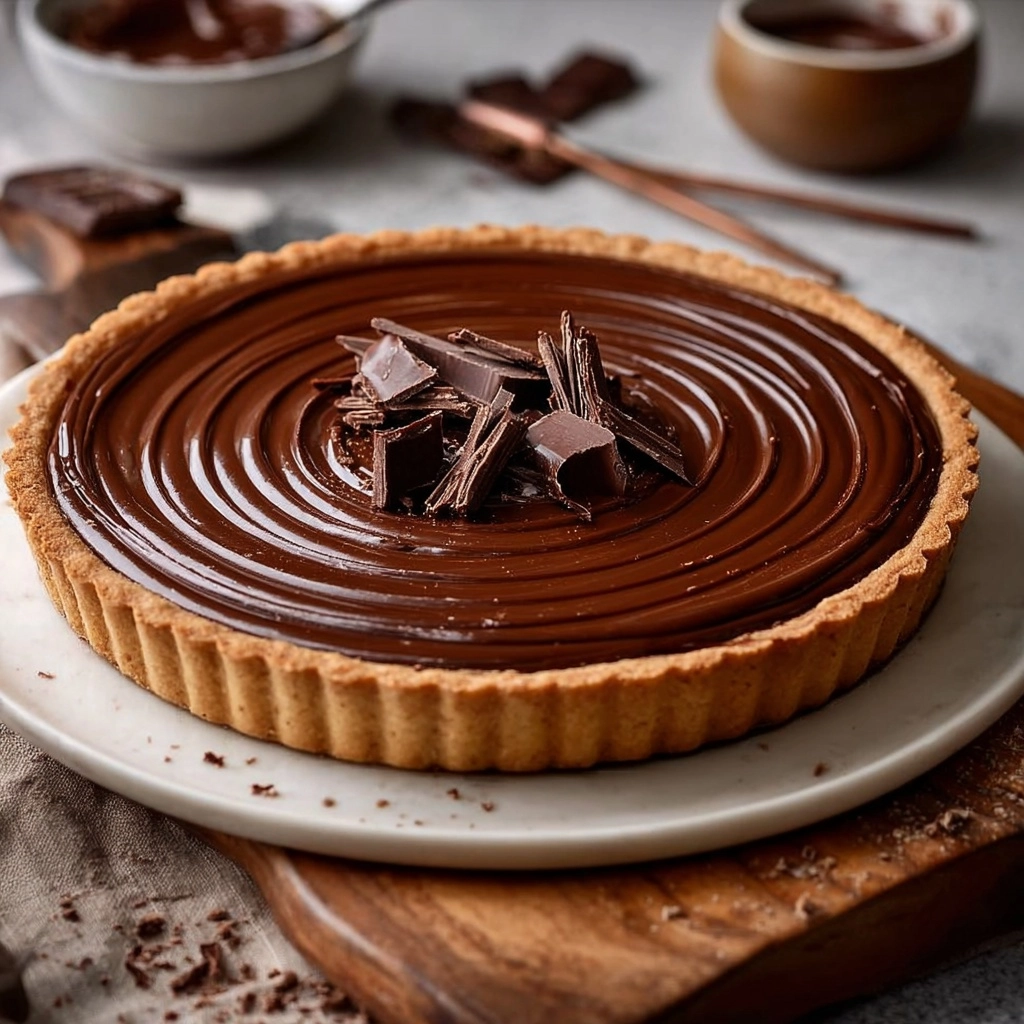
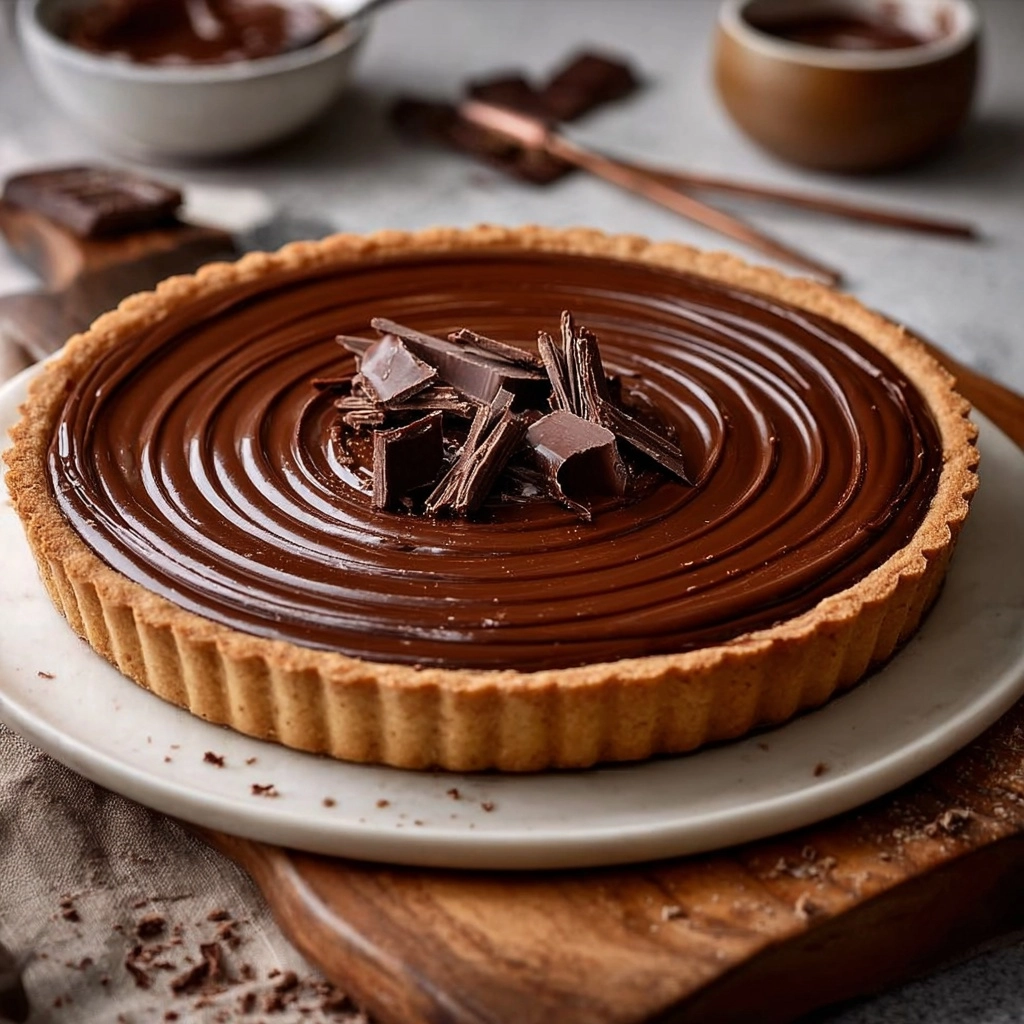
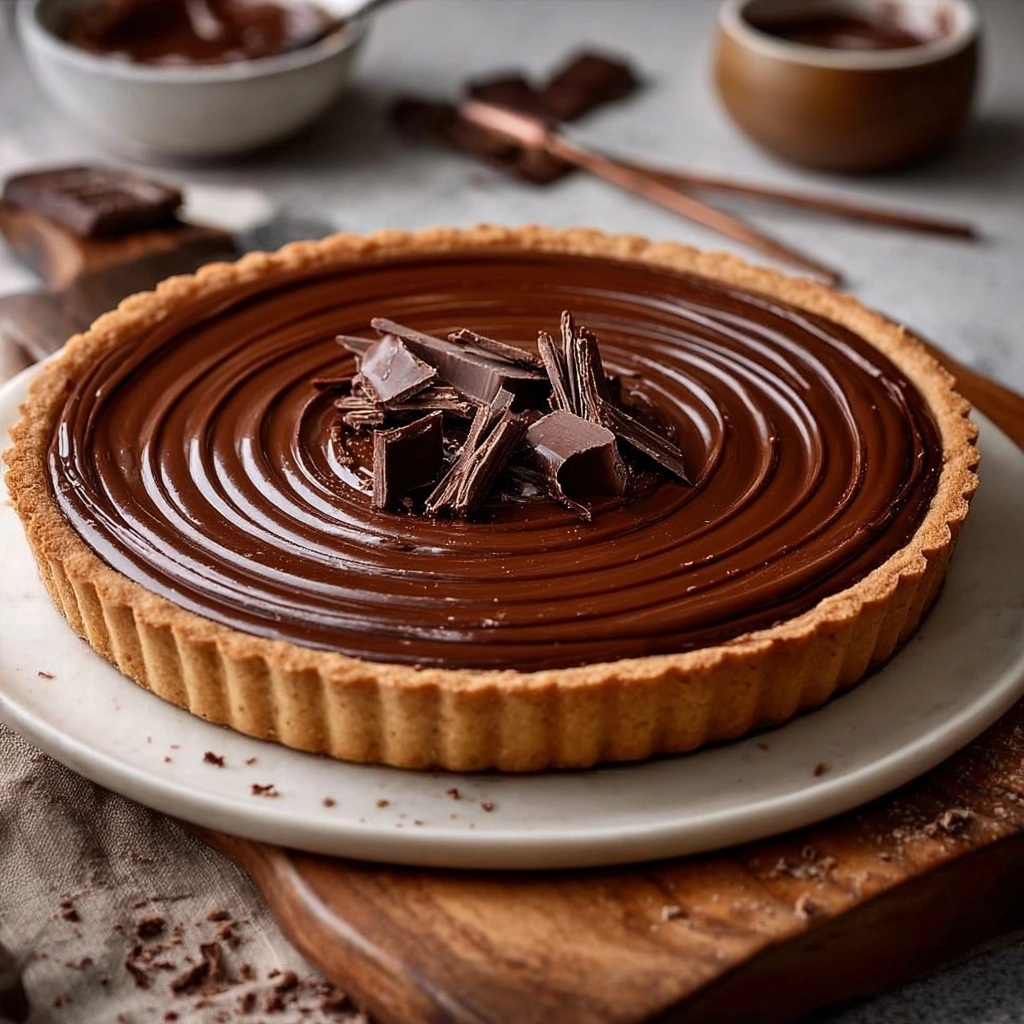
Let me introduce you to a dessert that’s pure magic on a plate: Nostalgic Chocolate Tart Joy. This tart wraps up everything you love about classic chocolate treats and the comfort of home-baked goodness, all in one unbelievably lush and silky bite. From its buttery cocoa crust to the smooth, decadent chocolate ganache infused with a touch of espresso, every forkful takes you straight back to childhood celebrations—but with a grown-up twist. It’s simple enough for a casual afternoon treat, impressive enough for dinner parties, and guaranteed to become one of those recipes you reach for again and again whenever you’re craving a nostalgic chocolate tart joy moment.

Ingredients You’ll Need
Here’s the best part: Nostalgic Chocolate Tart Joy needs only a handful of straightforward ingredients, each of which plays a starring role. The magic truly lies in their quality and how they mingle to create layers of flavor, richness, and melt-in-your-mouth texture.
- All-purpose flour: This forms the backbone of a sturdy, tender crust that supports every luscious bite.
- Unsweetened cocoa powder: For deep, dreamy chocolate flavor in the base—make sure to use the good stuff!
- Granulated sugar: Just enough to balance the chocolate’s intensity and lend sweetness.
- Salt: A sprinkle amplifies all those rich flavors and keeps the tart from tasting flat.
- Cold unsalted butter: Absolutely essential for a crisp, flaky crust; cube it to keep things extra tender.
- Large egg: Binds the dough so it rolls out smooth and bakes up golden.
- Vanilla extract: Adds an aromatic warmth that lingers beautifully with the chocolate.
- Ice water: The secret to perfectly hydrated dough that comes together just right.
- Heavy cream: Creates the velvety, creamy base for the ganache filling.
- Semi-sweet chocolate: Chopped and melted, it’s the star of the show—choose a high-quality bar for best results.
- Unsalted butter (for ganache): Delivers glossy shine and that silk-on-the-tongue feel.
- Instant espresso powder: Just a touch deepens the chocolate flavor and brings everything together.
How to Make Nostalgic Chocolate Tart Joy
Step 1: Prep Your Crust Ingredients
First things first, preheat your oven to 350°F (175°C). Gather all your crust ingredients and, if you haven’t already, cube your cold butter—this will make the blending process much quicker and give your tart that all-important flaky texture. Set out your tart pan so it’s ready to welcome that chocolatey dough.
Step 2: Make the Chocolate Tart Dough
In a large mixing bowl, whisk together the flour, cocoa powder, granulated sugar, and salt. Drop in the cold cubed butter and use a pastry cutter, or your fingertips if you’re feeling traditional, to work the butter in until the mix resembles crumbly sand with pea-sized bits of butter still visible. Whisk together the egg and vanilla in a separate bowl, pour it into the flour mixture, then drizzle in the ice water one tablespoon at a time, gently mixing until a cohesive dough forms—don’t overwork it, just bring it together.
Step 3: Shape and Bake the Crust
Lightly flour your work surface and turn out the dough. Roll it out evenly to fit your 9-inch tart pan, then press it gently into the pan’s corners. Trim any overhanging dough. Prick the base all over with a fork to prevent puffing. Bake for 15 minutes, until the edges are fragrant and set, then let it cool—this forms the delicious, cocoa-rich base of your Nostalgic Chocolate Tart Joy.
Step 4: Make the Chocolate Ganache
Chop up that semi-sweet chocolate and place it in a heatproof bowl. In a saucepan, heat the heavy cream over medium heat until it’s just starting to simmer. Pour the hot cream over the chocolate and let it sit for 2–3 minutes, then whisk (starting from the center) until smooth and glossy. Add the unsalted butter and espresso powder, stirring them in to create a ganache that’s luxuriously shiny and packed with flavor.
Step 5: Fill and Chill the Tart
Pour your still-warm ganache into the baked, cooled tart shell, using a spatula to smooth it out all the way to the edges. Pop the tart in the refrigerator and let it chill for at least 2 hours, or until the filling is completely set. Before you serve your Nostalgic Chocolate Tart Joy, let it rest at room temperature for about 20 minutes for the softest, silkiest slice.
How to Serve Nostalgic Chocolate Tart Joy

Garnishes
When it comes to dressing up your Nostalgic Chocolate Tart Joy, a little goes a long way. Think delicate chocolate shavings, a light dusting of cocoa powder, or a scatter of fresh berries for a pop of color. Whipped cream is always welcome alongside that rich chocolate, or you could go classic with just a light sprinkle of powdered sugar.
Side Dishes
This chocolate tart absolutely shines next to a scoop of vanilla gelato or a spoonful of mascarpone, which beautifully offset its richness. For something lighter, serve with a crisp green fruit salad; the tartness of kiwi or the sweetness of orange segments make delightful companions for Nostalgic Chocolate Tart Joy.
Creative Ways to Present
To give your tart some wow factor, try cutting it into tiny squares to serve as elegant petit fours at a party. Or use a heart-shaped tart pan for special occasions to turn your Nostalgic Chocolate Tart Joy into a romantic treat. Mini tartlets are another fun twist, perfect for bringing to gatherings—everyone loves having their own personal dessert.
Make Ahead and Storage
Storing Leftovers
Nostalgic Chocolate Tart Joy keeps incredibly well! Cover any leftovers tightly with plastic wrap and store in the refrigerator for up to 4 days. The crust will remain deliciously crisp, and the ganache stays velvety and rich so you can enjoy a slice of nostalgia anytime the craving strikes.
Freezing
If you want to get ahead (or save some for a rainy day!), wrap the fully set tart in a double layer of plastic wrap and then in foil. Freeze for up to one month. When you’re ready to serve, thaw in the refrigerator overnight—your Nostalgic Chocolate Tart Joy will taste just as spectacular.
Reheating
While this tart tastes best cold or at room temperature, you can gently warm individual slices in the microwave for 10–15 seconds if you like a slightly softer ganache. Just be careful not to overdo it, or the chocolate filling may melt too much.
FAQs
Can I make the tart shell in advance?
Absolutely! You can bake the crust a day ahead and keep it covered at room temperature. This makes assembling your Nostalgic Chocolate Tart Joy super quick when you’re ready to add the ganache.
Does the instant espresso powder make the tart taste like coffee?
No, the espresso just deepens the chocolate flavor—think of it as a secret ingredient that makes the chocolate really shine! It’s a little trick for truly unforgettable Nostalgic Chocolate Tart Joy.
What type of chocolate works best for the filling?
Semi-sweet chocolate gives the ideal balance of richness and sweetness, but feel free to use bittersweet if you crave a darker, more sophisticated flavor. Just avoid chocolate chips, as they can have stabilizers that affect the texture of your Nostalgic Chocolate Tart Joy.
Can I make this tart gluten-free?
Yes! Substitute the all-purpose flour with your favorite 1:1 gluten-free flour blend for a crust that’s just as tasty. Make sure your blend works well for pastries for the best results.
How do I know when the ganache is fully set?
The ganache will be firm to the touch and slightly glossy on top. Chilling for at least 2 hours usually does the trick, but if your kitchen is warm, give it a bit more time to ensure your Nostalgic Chocolate Tart Joy slices cleanly and beautifully.
Final Thoughts
Trust me: once you’ve tasted the deep chocolatey bliss of Nostalgic Chocolate Tart Joy, you’ll find yourself coming back to it for every special occasion—or whenever you need a little extra happiness on your plate. It’s truly a recipe that brings smiles, sparks memories, and delivers a unique kind of joy with every delicious bite. Give it a try and make some new nostalgic moments of your own!

