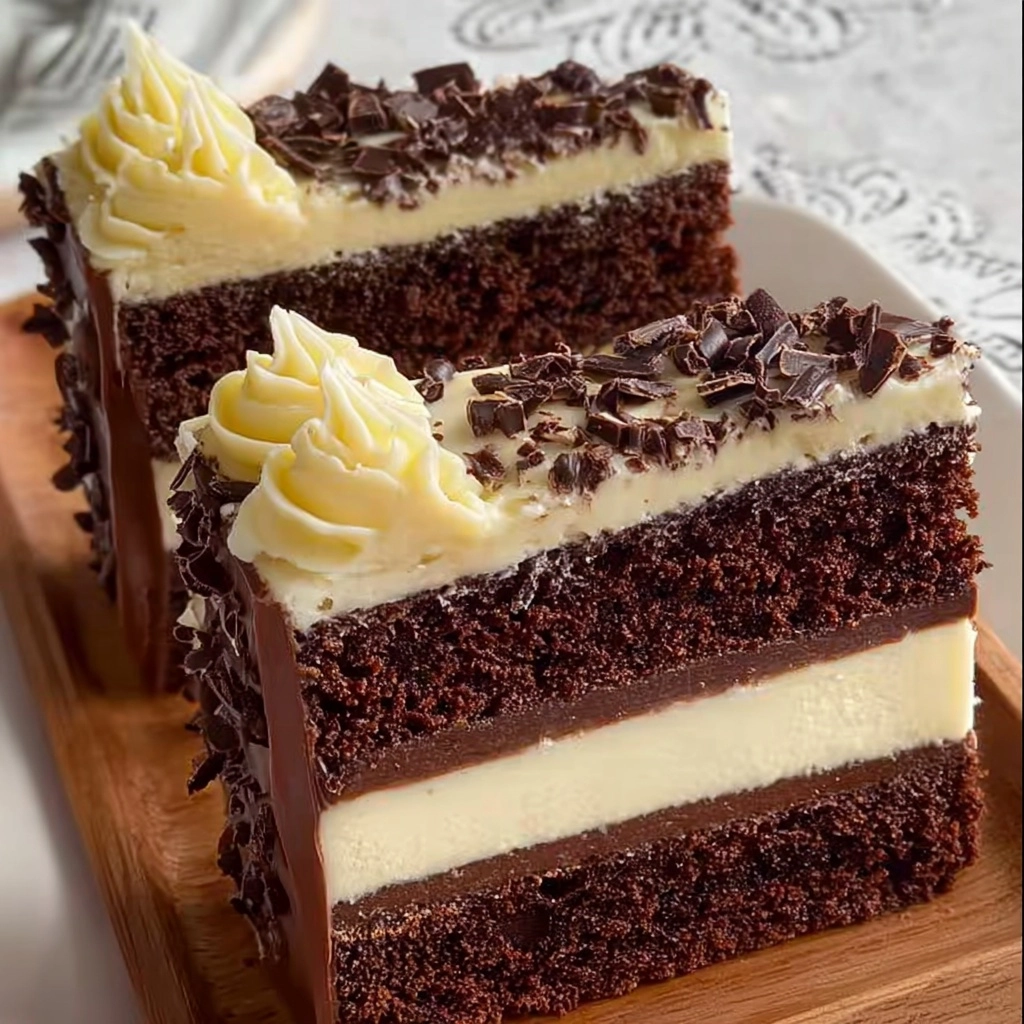
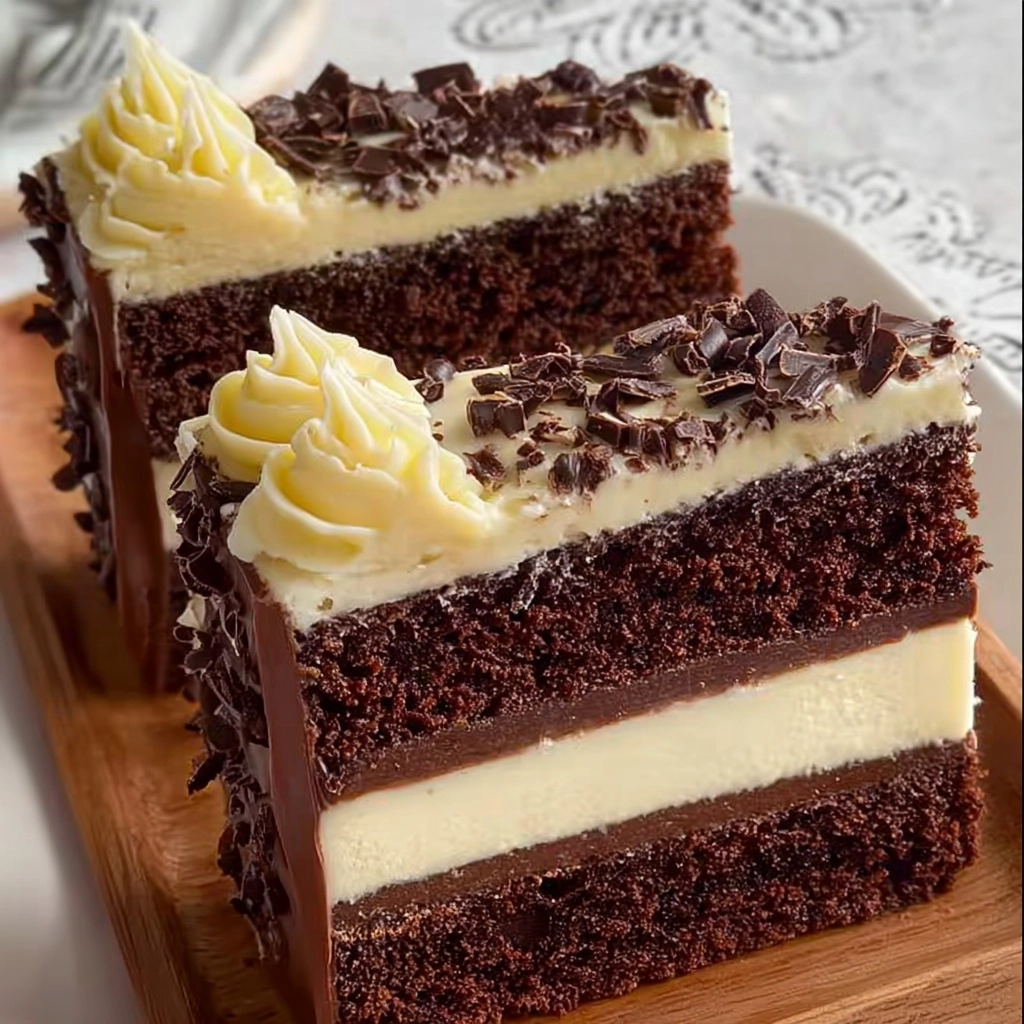
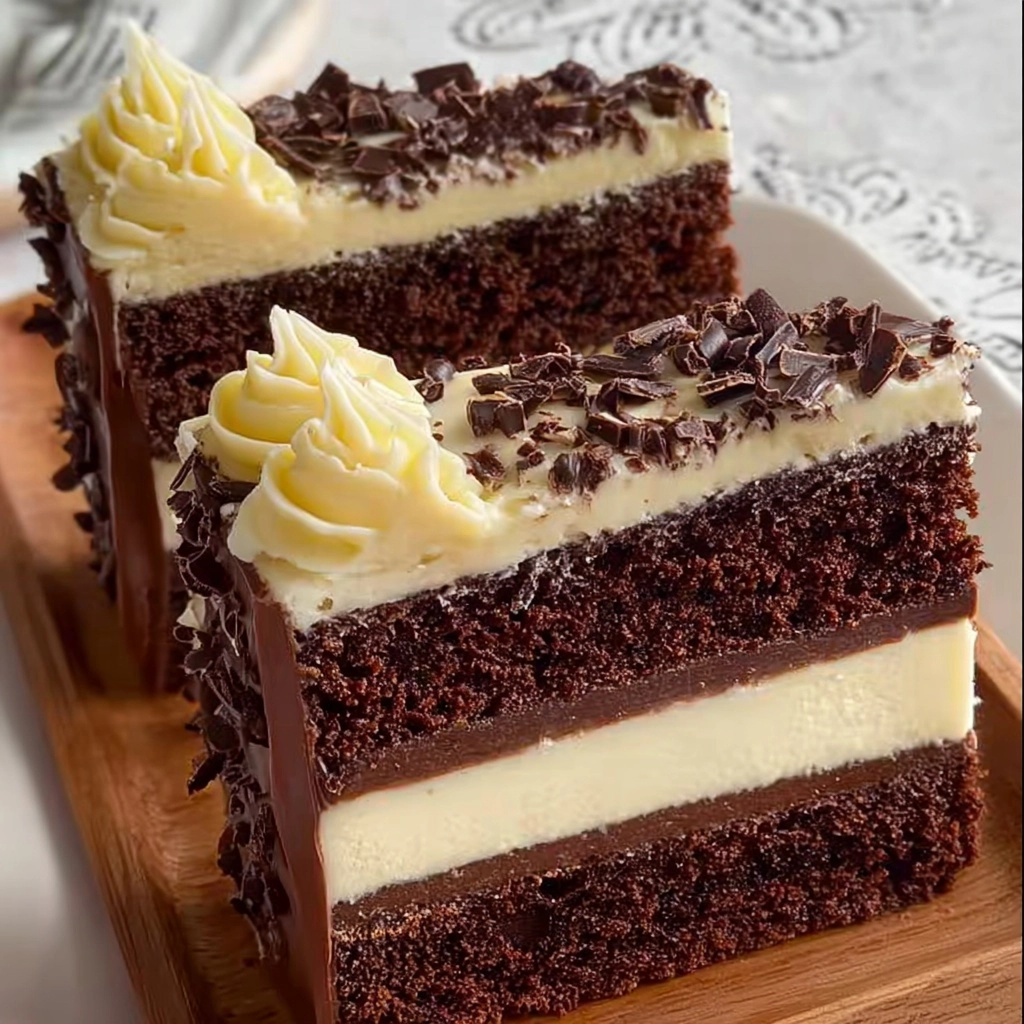
If you’re searching for the ultimate treat to satisfy your craving for something rich, decadent, and a little bit whimsical, say hello to Chocolate Dream Cake Slices. Imagine sinking your fork through a tender chocolate cake layered with silky vanilla cream and glossy ganache, each bite a blissful combination of fudge-like intensity and airy sweetness. These slices are a crowd-pleaser at parties, dreamy for celebrations, and honestly, perfect for those days when you just need a little chocolate magic in your life.

Ingredients You’ll Need
Chocolate Dream Cake Slices keep things refreshingly simple but with each ingredient playing a starring role—whether adding depth, moisture, fluffiness, or that unmistakable chocolate flair. Gather what you need and get ready for a baking adventure that feels as special as it tastes!
- All-purpose flour: This provides the foundation, creating a soft yet sturdy texture for your cake slices.
- Unsweetened cocoa powder: For genuinely chocolatey richness—choose a high-quality one for best flavor.
- Baking soda: Helps the cake rise tall and fluffy every time.
- Baking powder: Adds an extra lift for that delightful crumb in each forkful.
- Salt: Amplifies all the fabulous chocolate and vanilla notes.
- Granulated sugar: Contributes structure and sweetness, balancing the cocoa.
- Light brown sugar: Lends moisture and a subtle caramel undertone to the cake.
- Vegetable oil: Makes the cake incredibly moist and tender—no dry slices here!
- Large eggs: Bind everything together and add extra richness.
- Buttermilk: Brings a tangy lift and soft crumb that’s hard to beat.
- Hot water or hot coffee: Deepens the chocolate flavor; coffee especially intensifies all those cocoa notes.
- Vanilla extract: Enhances both chocolate and cream layers, adding warmth.
- Heavy cream: Essential for creating that luscious chocolate ganache filling.
- Semi-sweet chocolate chips: The backbone of your ganache—melty, divine, and just the right level of sweetness.
- Cream cheese: Softened for an irresistibly smooth vanilla cream filling with a subtle tang.
- Unsalted butter: Gives the vanilla cream body and a buttery finish.
- Powdered sugar: Sweetens and thickens your cream layer for that just-right texture.
- Milk or heavy cream: Helps create that fluffy, pipeable texture in your vanilla cream.
- Whipped cream (optional): Perfect for topping and creating a billowy finishing touch.
- Chocolate sprinkles or shavings: Add crunch, sparkle, and irresistible curb appeal to each slice.
How to Make Chocolate Dream Cake Slices
Step 1: Prepare and Preheat
Start by preheating your oven to 350°F (175°C). Grease and flour a 9×13 inch baking pan or two round 8 or 9-inch cake pans, depending on your preferred presentation style. This step ensures your cakes release easily once baked, keeping all those gorgeous layers picture-perfect for slicing later.
Step 2: Mix Dry Ingredients
In a large bowl, whisk together your flour, cocoa powder, baking soda, baking powder, salt, granulated sugar, and brown sugar. Take a moment here—the cocoa’s aroma and the sugars’ gentle blending set the stage for a cake that’s rich and full-flavored. Ensure no lumps remain so your cake will bake up light and even.
Step 3: Combine Wet Ingredients
In a separate bowl, combine vegetable oil, eggs, buttermilk, hot water or coffee, and vanilla extract. Whisk until smooth and fully emulsified; this mixture gives your Chocolate Dream Cake Slices their signature moisture and tenderness. The buttermilk and hot coffee work wonders for texture and flavor, so don’t skip them!
Step 4: Create the Batter
Pour the wet ingredients into the dry ingredients. Gently stir just until combined—don’t overmix, as that can make the cake tough. Your batter will be notably thin, but that’s exactly what you want for a soft, decadent crumb. Pour it evenly into your prepared pan(s).
Step 5: Bake to Perfection
Slide those pans into the oven and bake for about 30–35 minutes if using a 9×13 pan, or 25–30 minutes for rounds. You’ll know they’re ready when a wooden skewer comes out clean—set the cakes aside to cool completely in the pan on a wire rack. Patience is key; let the cakes chill so your slices come together neatly!
Step 6: Make the Chocolate Ganache Filling
Heat your heavy cream over medium heat just until it begins to simmer (don’t let it boil). Pour the hot cream over your semi-sweet chocolate chips in a heatproof bowl and let it sit undisturbed for five minutes. Then whisk until glossy and smooth—let it thicken up a touch before using, as this helps it hold its dreamy layer.
Step 7: Whip Up Vanilla Cream Filling
Cream together softened cream cheese and butter until fluffy and light, then gradually beat in powdered sugar until smooth. Splash in your milk or cream and vanilla extract, mixing until everything is ethereal and spreadable. Add a little extra milk if it feels too stiff—this cream is what makes each slice genuinely swoon-worthy.
Step 8: Assemble Your Masterpiece
Once your cake is fully cooled, it’s time for assembly magic. Slice the cake horizontally or into slabs for that famous layered look—level the tops if needed. Spread a layer of vanilla cream on one side, pipe or spoon chocolate ganache through the center, then finish with another swipe of vanilla cream on the other side. Stack, repeat, and top with whipped cream and chocolate shavings for extra dazzle. Your Chocolate Dream Cake Slices are now ready to bring joy!
How to Serve Chocolate Dream Cake Slices

Garnishes
A swirl of whipped cream or piped vanilla cream on each slice takes these cake squares from delicious to irresistible. Sprinkle with a shower of chocolate shavings or sprinkles for lavishness—they’ll catch the light and invite everyone to dive in. Some fresh berries or a mint sprig are simple touches that amp up the elegance (and color contrast) even more.
Side Dishes
To truly make these Chocolate Dream Cake Slices the star, serve them alongside a scoop of good vanilla ice cream, a fresh berry salad, or vibrant citrus slices to balance all that chocolate intensity. If you’re feeling fancy, a few chocolate-dipped strawberries on the side turn dessert into an occasion all by themselves.
Creative Ways to Present
Don’t limit yourself to the classic rectangle: layer them in parfait glasses with extra ganache for a trifle twist, slice into bite-sized squares for a party platter, or serve each slice upright with a flag of parchment or a dusting of powdered sugar for a whimsical look. These beauties adapt to every festive table!
Make Ahead and Storage
Storing Leftovers
Once assembled, keep your Chocolate Dream Cake Slices tightly covered in the refrigerator. They’ll stay fresh, moist, and dreamy for about 3–4 days. Consider storing individual slices to make dessert breaks even easier during the week.
Freezing
For longer storage, freeze the slices (either already filled or just the cake layers) individually wrapped and nestled in an airtight container. Thaw in the fridge overnight—just be sure to only add garnishes like whipped cream and sprinkles after they’ve thawed for the best appearance and texture.
Reheating
If you want to take the chill off, let your refrigerated or frozen slices sit at room temperature for 30 to 45 minutes before serving. Heating isn’t necessary, but a few seconds in the microwave can make that ganache a little gooier—highly recommended for chocolate lovers!
FAQs
Can I use Dutch-processed cocoa instead of regular cocoa powder?
Absolutely! Dutch-processed cocoa will give your Chocolate Dream Cake Slices a deeper color and slightly mellower flavor profile. Just make sure your baking powder and soda are fresh for the perfect rise.
How do I make my layers as even as possible?
For those showstopper layers, use a long serrated knife to level each cake before frosting, and don’t rush the cooling process. Cold cakes are much easier to slice and assemble neatly, so patience is your best friend here.
Can these be made gluten-free?
Definitely! Substitute a reliable 1-for-1 gluten-free flour blend for the all-purpose flour, and check that all other ingredients are gluten-free as well. The texture stays remarkably tender and rich.
Can I use a different filling if I’m not a fan of cream cheese?
You sure can. Try a mascarpone-based cream, a stabilized whipped cream, or even a mocha buttercream for a fun new twist. Each version lends a unique flavor and feel to your Chocolate Dream Cake Slices.
Do I have to use hot coffee, or will water work?
Either works beautifully! Hot coffee intensifies the chocolate notes, giving the slices extra depth, but hot water still delivers wonderfully moist and chocolatey results. Go with your preference or what you have on hand!
Final Thoughts
There’s something undeniably special about layers of chocolate, cream, and ganache coming together in these Chocolate Dream Cake Slices. They’re fun to make, a joy to share, and truly unforgettable at first bite. So why not treat yourself (and a few lucky friends) to a little slice of chocolate heaven? Give this recipe a go—you’ll be dreaming about it long after the last crumb disappears!

