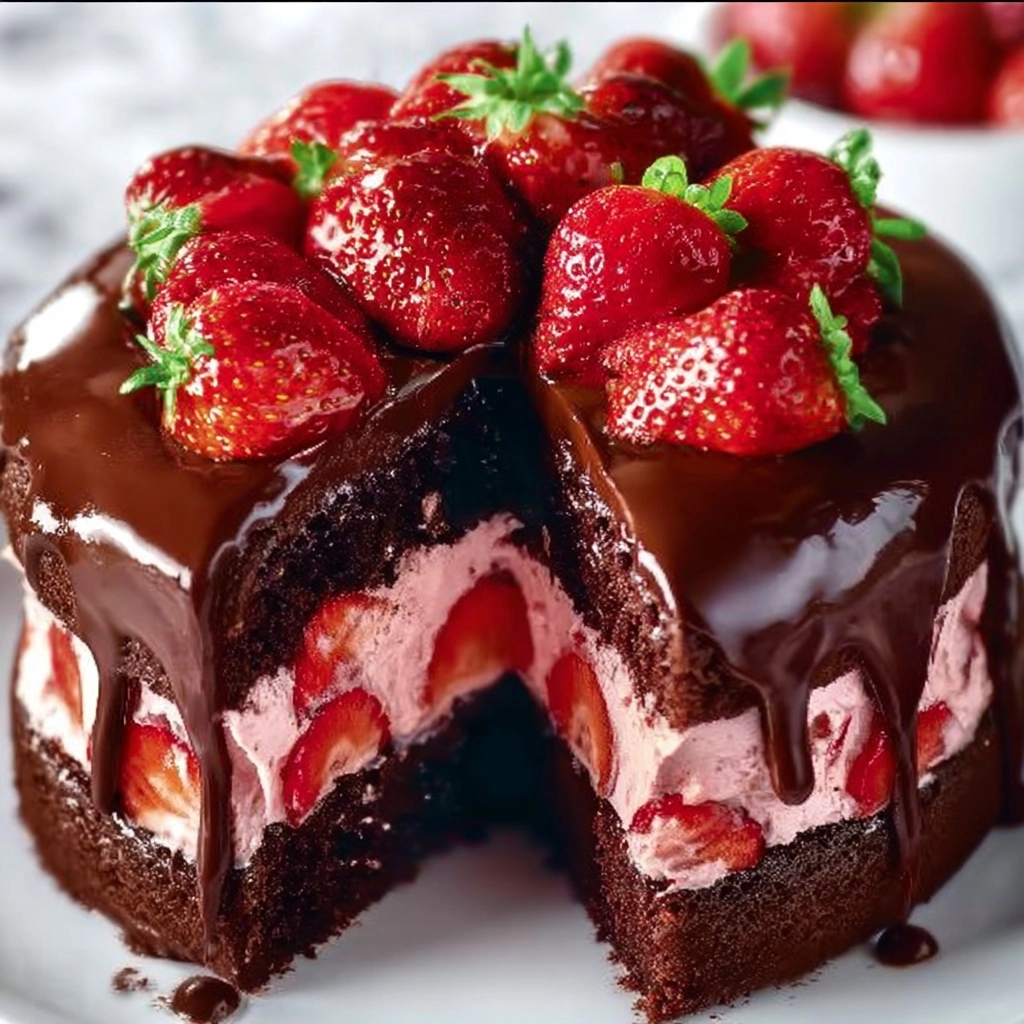
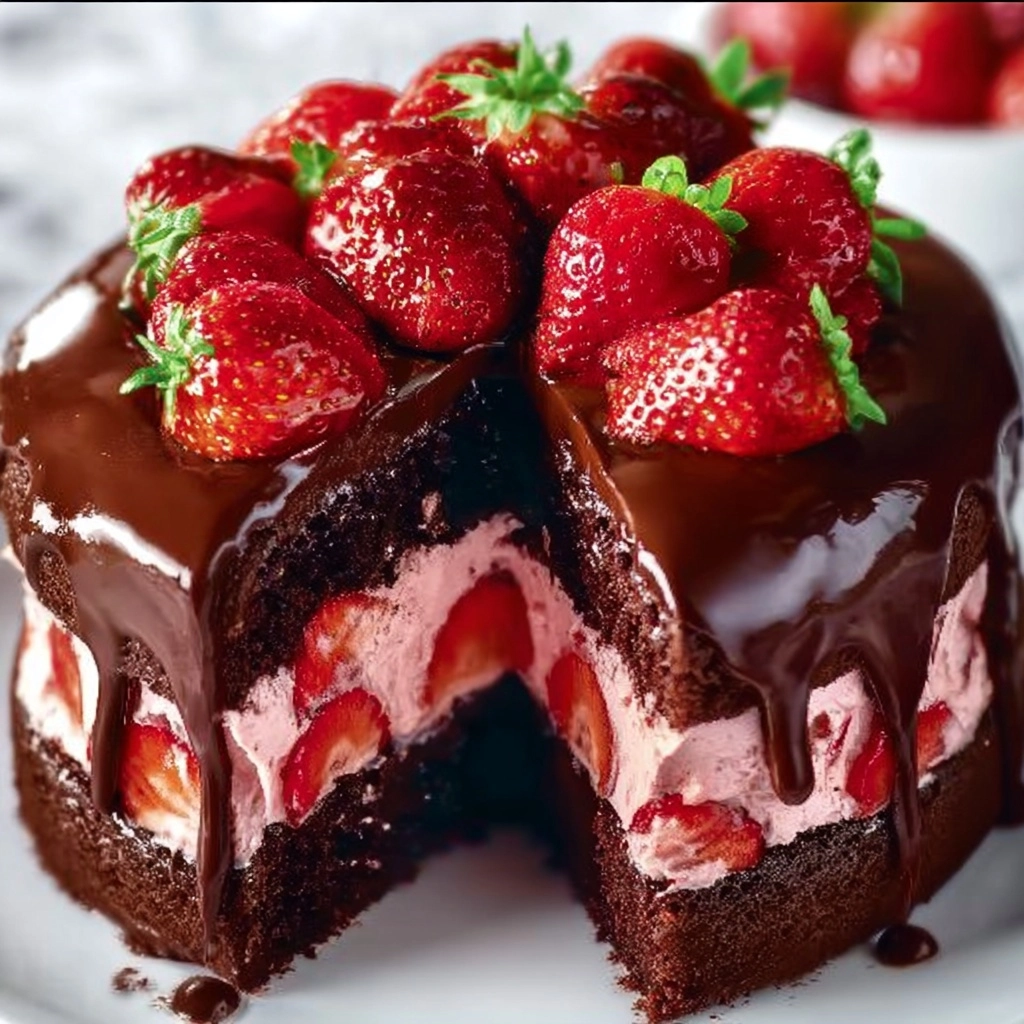
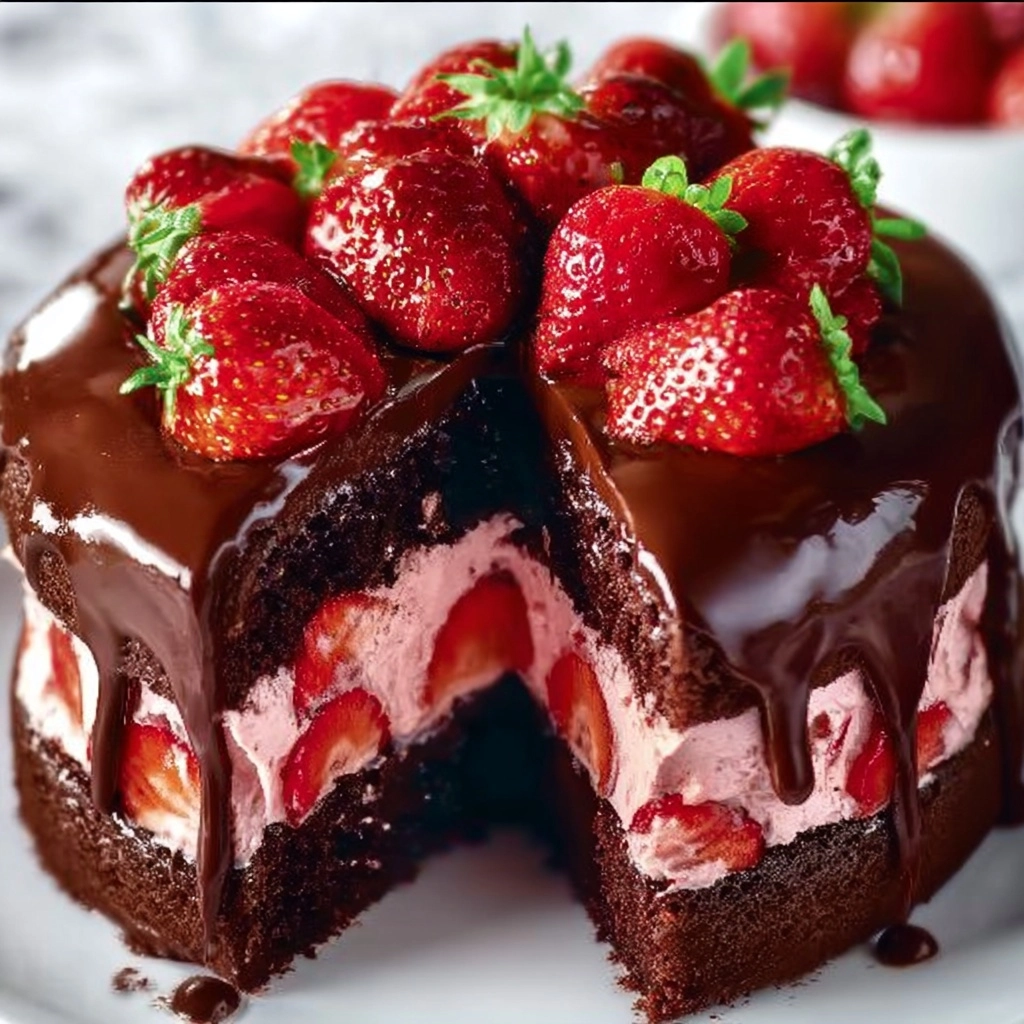
If you’re ready to make an impression at your next gathering or just want to treat yourself to something utterly indulgent, you can’t go wrong with this Strawberry Chocolate Cake with Strawberry Filling. Imagine rich, moist chocolate cake layers hugging a sweet, fresh strawberry filling—it’s a combination that never fails to delight. This cake is far from ordinary; it’s a showstopper that strikes the perfect balance between decadence and fruity freshness, making it a memorable dessert for any occasion.

Ingredients You’ll Need
Gathering ingredients for a Strawberry Chocolate Cake with Strawberry Filling couldn’t be simpler. Each element truly matters—giving you moist cake, a burst of berry brightness, and an all-around unforgettable treat. Here’s what you’ll need and why each is essential:
- All-purpose flour: The structure-builder of our cake, ensuring tender, sturdy layers.
- Granulated sugar: Provides just the right amount of sweetness and helps keep the cake soft.
- Unsweetened cocoa powder: Yields deep chocolate flavor—go for the good stuff for richer taste.
- Baking soda: Gives the cake a light, airy crumb by helping it rise perfectly.
- Baking powder: Partners with baking soda for reliable lift and fluffiness.
- Salt: Amplifies chocolate and balances the sweetness.
- Buttermilk (or milk + vinegar): Keeps the crumb tender and brings a subtle, tangy depth.
- Vegetable oil: Adds moistness and ensures a soft, melt-in-your-mouth texture.
- Eggs: Bind everything together for a cohesive, rich cake.
- Fresh or frozen strawberries: The spotlight of the filling—use ripe berries for irresistible flavor.
- Lemon juice: Brightens the filling and enhances the fresh strawberry taste.
- Cornstarch (optional): Use for thickening if you want a more jam-like layer.
How to Make Strawberry Chocolate Cake with Strawberry Filling
Step 1: Prep Your Pans and Preheat
Start by getting your two 9-inch round cake pans ready: grease them liberally, then line the bottoms with parchment paper. This ensures your cakes will release effortlessly (no heartbreaks here!). Preheat your oven to 350°F (175°C), setting the stage for even baking from the beginning.
Step 2: Mix the Dry Ingredients
Grab a large mixing bowl and whisk together the flour, sugar, cocoa powder, baking soda, baking powder, and salt. This step helps you avoid any lumps and makes sure all the leaveners and chocolate are evenly distributed, so every bite tastes just as good as the last.
Step 3: Blend the Wet Ingredients
In a second bowl, combine the buttermilk (or your milk-and-vinegar substitute), vegetable oil, and eggs. A quick whisk brings everything together, ensuring that your cake will be luscious and rich. Pour this blend into the dry mix, and stir just until everything is combined and smooth—overmixing can make the cake tough, so keep it gentle.
Step 4: Bake the Cakes
Divide your chocolatey batter evenly between the prepared pans. Give each pan a gentle tap on the counter to pop any large air bubbles lurking below the surface. Slide them into your preheated oven, and bake for 30–35 minutes. They’re ready when a toothpick inserted in the center comes out clean. Allow the cakes to cool in their pans for about 10 minutes, then carefully turn out onto a wire rack to cool completely—you don’t want the filling to melt later!
Step 5: Make the Strawberry Filling
While your cakes cool, turn your attention to the strawberry filling. In a small saucepan over medium heat, cook chopped strawberries, sugar, and lemon juice together. Stir frequently; soon the berries will break down and release their gorgeous juices. If you want a thicker filling, stir in a slurry made from cornstarch and a tablespoon of water. Simmer until slightly thickened, then let it cool fully. A chilled filling makes cake assembly so much easier.
Step 6: Assemble the Cake
Set one cake layer onto your serving platter. Spoon the cooled strawberry filling right on top, spreading all the way to the edges so every slice gets a generous amount of fruit. Gently place the second cake layer on top. Here’s where you can have fun: finish with a swoop of chocolate ganache or cloudlike whipped cream, and decorate with extra strawberries for that grand bakery look.
Step 7: Serve, Slice, and Savor
At last—the best part! Cut generous slices and serve to eagerly awaiting family or friends. With every forkful, you’ll experience moist chocolate, bright strawberry, and pure celebration. Enjoy!
How to Serve Strawberry Chocolate Cake with Strawberry Filling

Garnishes
A garnish can transform your Strawberry Chocolate Cake with Strawberry Filling from pretty to positively stunning. Try cascading fresh strawberry halves and chocolate shavings over the top for instant elegance. A dusting of powdered sugar or a drizzle of glossy ganache makes each slice look irresistible. Even a few mint leaves can add a pop of color and freshness that will rival any bakery creation!
Side Dishes
This cake is such a star it needs little accompaniment—but pairing it with a scoop of vanilla bean ice cream or a dollop of freshly whipped cream takes it over the top. If you’re feeling extra fancy, serve with glasses of chilled strawberry lemonade or coffee for balancing those rich flavors and making dessert an occasion in itself.
Creative Ways to Present
Create a memorable dessert experience by serving this cake as mini cakes or cupcakes for individual treats—just cut out circles using a biscuit cutter and fill each with strawberry goodness. Alternately, stack thin cake and filling layers for a dramatic naked cake effect, letting those beautiful strawberries peek out. If you’re hosting, plate slices with a swirl of chocolate sauce for that chef’s kiss presentation.
Make Ahead and Storage
Storing Leftovers
If you have leftover Strawberry Chocolate Cake with Strawberry Filling, simply cover the cake with plastic wrap or store in an airtight container. It’ll keep at room temperature for a day or two, but for longer freshness (and extra moistness), pop it in the fridge—it’s just as good cold, maybe even better!
Freezing
This cake freezes beautifully. Wrap individual slices tightly in plastic wrap and then aluminum foil or a zip-top freezer bag. The strawberry filling holds up well, making this a fantastic make-ahead treat. Thaw the cake in the fridge overnight when you’re ready to enjoy those bright flavors all over again.
Reheating
To bring that just-baked warmth back, briefly microwave individual slices for 10–15 seconds, or let pieces come to room temperature on the counter. If you opt for whipped cream on top, add it after warming for the best texture and taste.
FAQs
Can I use frozen strawberries for the filling?
Absolutely! Frozen strawberries work beautifully for the filling and can help you enjoy Strawberry Chocolate Cake with Strawberry Filling even when berries aren’t in season. Just add them directly to the saucepan, no need to thaw first.
What if I don’t have buttermilk?
No problem! Make your own by adding 1 tablespoon of vinegar to 1 cup of milk and letting it sit for five minutes. This brings out that tangy flavor and tender crumb in the cake.
How do I keep the cake layers from sticking to the pan?
Greasing your pans well and lining the bottoms with parchment paper creates a foolproof barrier—your cake layers will release smoothly and remain intact for easy assembly.
Can I make this cake in advance?
Definitely! Bake the cake layers and prepare the strawberry filling up to two days ahead. Just store the layers tightly wrapped at room temperature and keep the filling in the fridge. Assemble everything the day you want to serve for the freshest taste.
Is it possible to make this gluten-free?
Yes, simply swap the all-purpose flour for your favorite 1:1 gluten-free baking blend. The results are still delightfully moist and full of chocolate-strawberry magic.
Final Thoughts
You owe it to yourself to try this Strawberry Chocolate Cake with Strawberry Filling at least once! It’s deeply chocolatey, brimming with real strawberry flavor, and perfect for sharing with loved ones or celebrating any special occasion. I hope you’ll bake it soon and fall in love with every dreamy bite.

