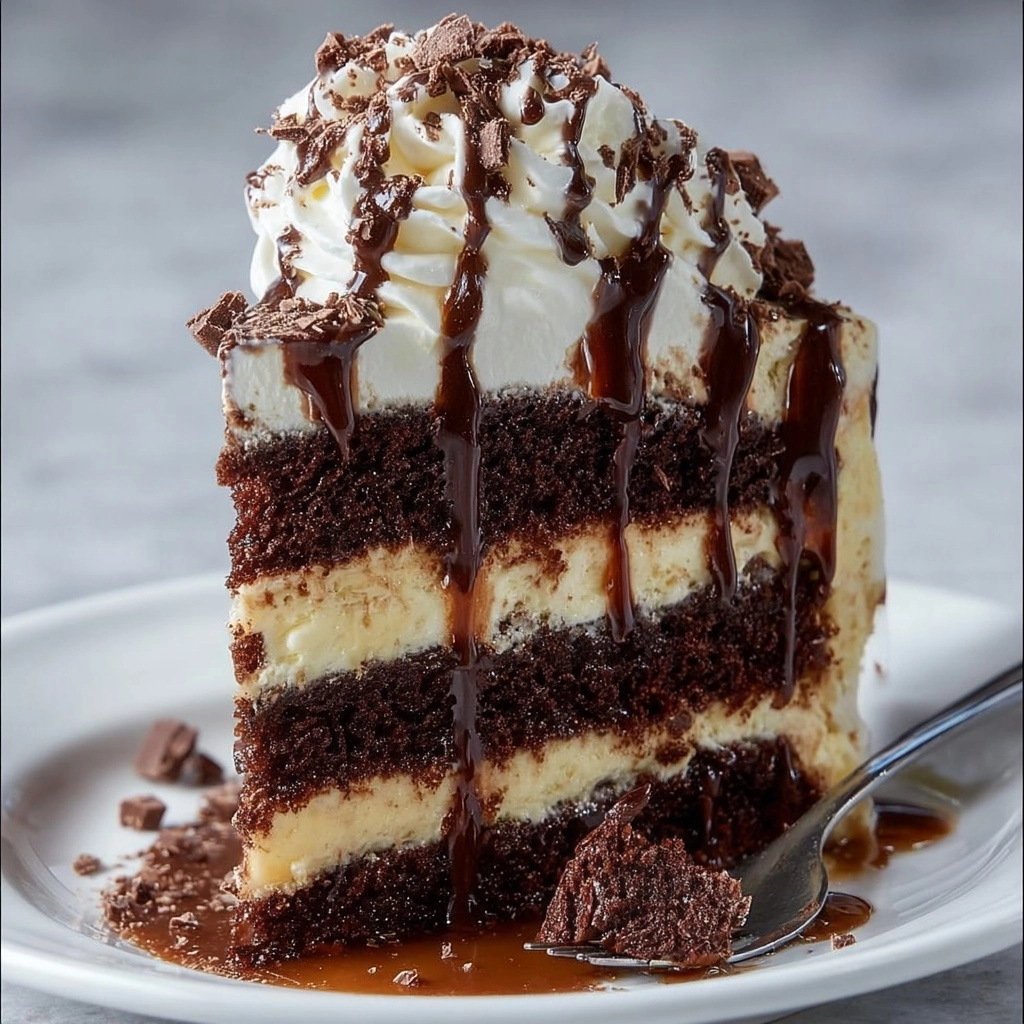
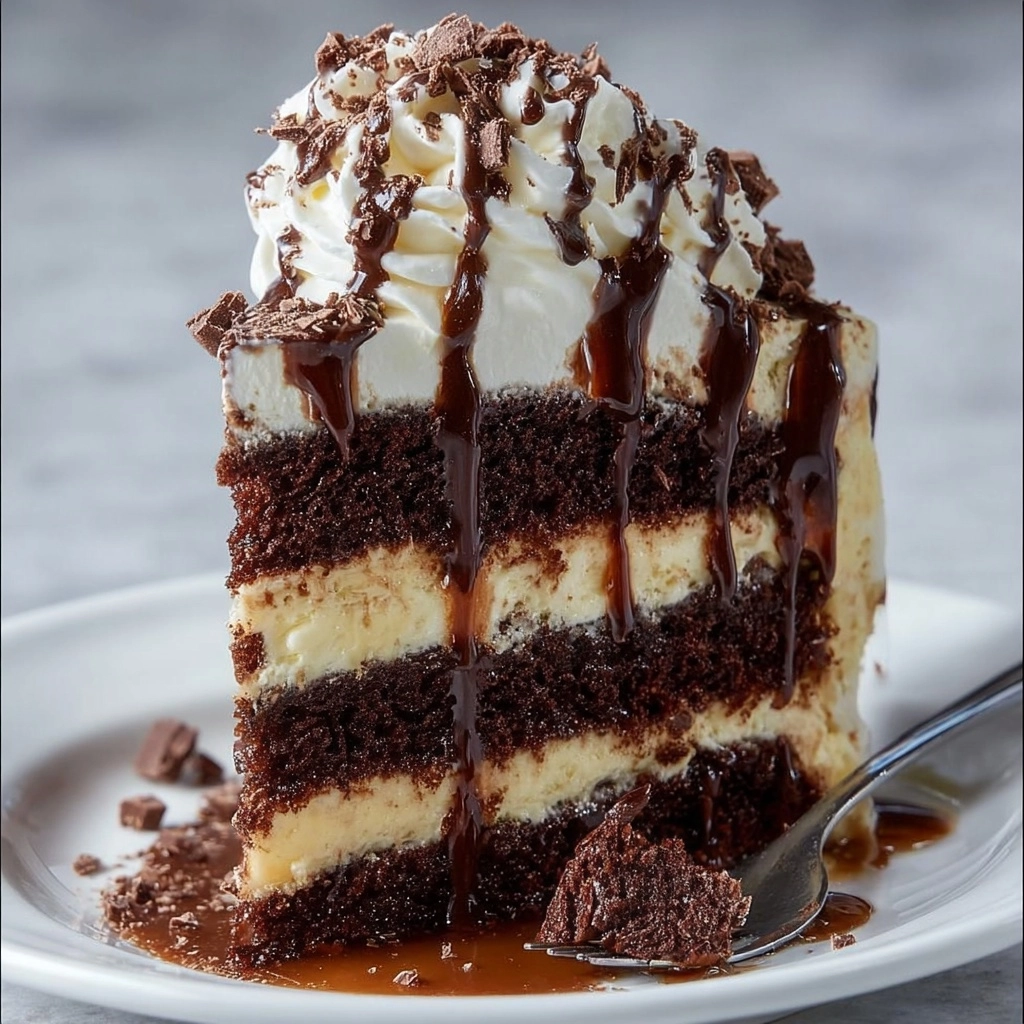
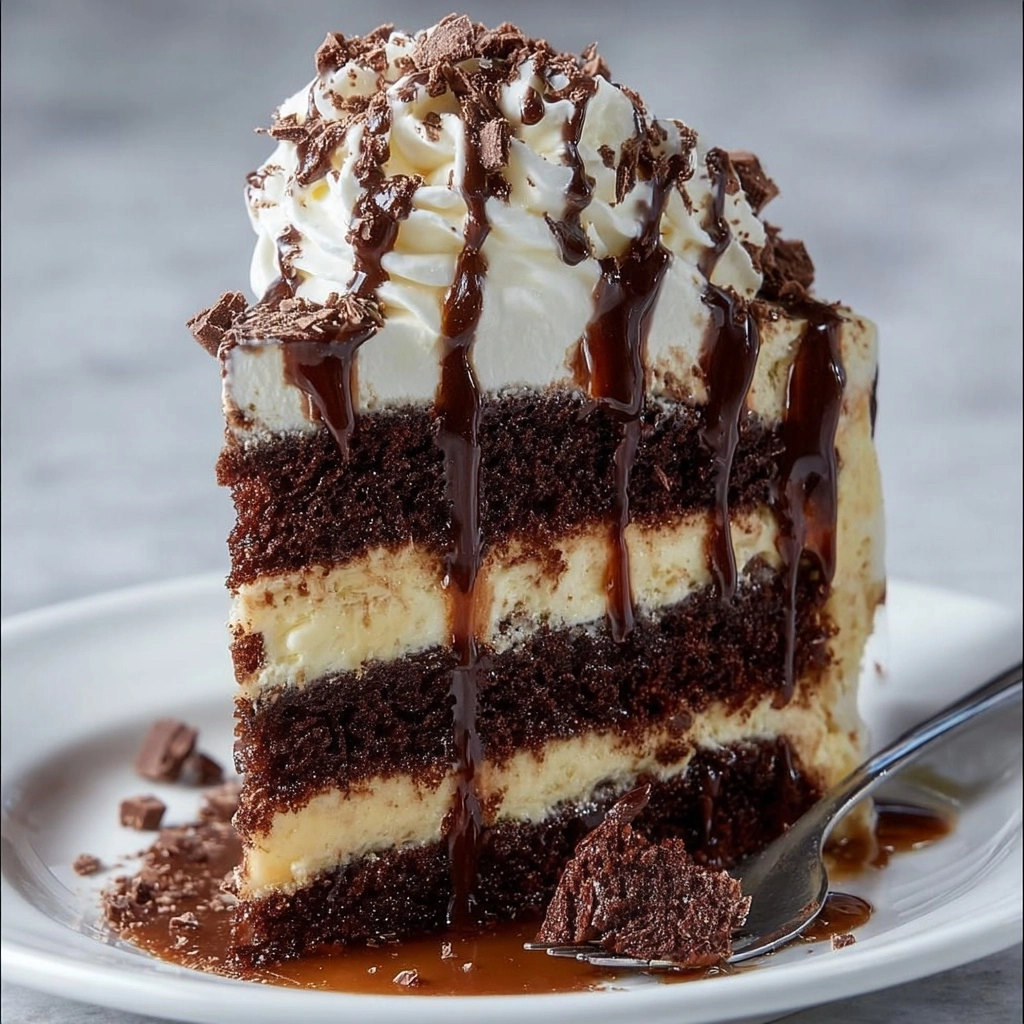
This Rich Chocolate Cream Layer Cake is every chocolate lover’s fantasy come true—a decadent, multi-layered masterpiece brimming with tender, moist chocolate cake, luscious cream cheese filling, and a glossy dark chocolate ganache drizzle. Each bite melts on your tongue, offering a luxurious contrast of flavors and textures that is truly swoon-worthy. Whether you’re celebrating a birthday, hosting a special gathering, or simply seeking an indulgent dessert, this cake commands attention and wins hearts every single time. If you’re in the mood to impress, let’s dive into your new favorite Rich Chocolate Cream Layer Cake adventure!

Ingredients You’ll Need
The magic of a Rich Chocolate Cream Layer Cake is in the simplicity of its ingredients—each one is essential, and together they create a show-stopping treat. From the deep cocoa flavor to the silky cream and that irresistible ganache finish, every component has a purpose and a place.
- All-purpose flour: Gives the cake structure and keeps it perfectly fluffy. Measure accurately for best results.
- Unsweetened cocoa powder: Delivers that rich, chocolatey backbone—the higher the quality, the better the flavor!
- Granulated sugar: Balances the cocoa’s intensity and keeps the cake tender and moist.
- Baking soda & baking powder: The duo of leaveners ensures the cake rises beautifully and stays soft.
- Salt: Amplifies the chocolate flavor and brings balance to sweetness.
- Buttermilk: Adds a subtle tang and an ultra-moist crumb—don’t skip it!
- Vegetable oil: Keeps each bite super-moist, even after days in the fridge.
- Eggs: Bind the batter and add richness and structure to every layer.
- Vanilla extract: Enhances the chocolate and complements the creamy filling.
- Hot water or hot brewed coffee: Intensifies the chocolate flavor and creates a beautifully smooth batter—coffee especially makes the chocolate pop, but water works if you prefer.
- Cream cheese (softened): Brings a tangy smoothness to the filling, balancing all that chocolate.
- Unsalted butter (softened): Ensures a velvety, rich cream filling.
- Powdered sugar (sifted): Sweetens and thickens the cream filling, making it light and airy.
- Heavy cream or milk: Loosens the filling to the perfect spreadable consistency.
- Semi-sweet or dark chocolate (chopped): Makes the ganache dreamy and delivers that professional, glossy drip.
- Whipped cream: Optional but highly recommended for extra flair and a light finish.
- Chocolate shavings or curls: Add drama, texture, and the finishing touch every celebration cake deserves.
How to Make Rich Chocolate Cream Layer Cake
Step 1: Prepare the Chocolate Cakes
Start by preheating your oven to 350°F (175°C), ensuring an even bake. Grease and flour two 8-inch round cake pans, or line them with parchment for effortless removal. In one large bowl, whisk together the dry ingredients—flour, cocoa, sugar, leaveners, and salt—until thoroughly combined. Whisk the buttermilk, oil, eggs, and vanilla together in another bowl. Pour wet into dry, mixing only until just incorporated—overmixing can steal away that plush texture. Slowly add the hot water or coffee, and stir until smooth and glossy; don’t worry if the batter seems thin, that’s what gives this Rich Chocolate Cream Layer Cake its legendary moistness! Divide the batter, bake for 30 to 35 minutes, and check for doneness with a skewer. Once set, cool the cakes 10 minutes in their pans, then turn out onto a rack to cool completely.
Step 2: Make the Cream Filling
In a large bowl, beat the softened cream cheese and butter until they whip up light and fluffy—about 2 to 3 minutes with an electric mixer works wonders. Slowly add the sifted powdered sugar, incorporating as you go to avoid a snowstorm. Beat in vanilla extract and two tablespoons of heavy cream for extra silkiness; add an extra spoonful of cream if you want a loftier texture. This filling is a dream: sweet but not cloying, and so smooth it practically swoons onto the cake.
Step 3: Assemble the Cake
Once your cakes are cool (patience is key!), use a long serrated knife to carefully slice each layer horizontally, creating four thin cake layers. Place your first layer on your cake stand or platter. Gently spread about one-quarter of the cream filling evenly over the surface, nudging it right to the edges. Stack the next layer and repeat the process—don’t hold back, you want that beautiful cream filling to show off in every slice! Finish with the last cake layer on top. Chill the assembled Rich Chocolate Cream Layer Cake for at least 30 minutes; this helps the filling firm up and makes the next step a breeze.
Step 4: Make the Chocolate Ganache
For the ganache, heat half a cup of heavy cream in a small saucepan until it just begins to simmer—watch carefully so it doesn’t boil over. Remove from heat, add your chopped chocolate, and let it stand for five glorious minutes. Then, whisk until you have a smooth, shiny ganache. Cool for about 15 minutes, stirring occasionally, until it thickens ever so slightly but is still pourable. This glossy ganache is what sets a homemade Rich Chocolate Cream Layer Cake apart from the rest.
Step 5: Decorate and Serve
Pour the slightly cooled ganache over the top of your chilled cake, letting it gently drip down the sides for that irresistible “drippy” effect. Pipe, dollop, or swirl whipped cream (or any leftover cream filling) across the top—have fun with it! Finally, scatter with chocolate shavings or curls for the ultimate finishing flourish. Slice generous pieces and serve, marveling at those dramatic layers. The rest (if there is any!) keeps wonderfully in the fridge.
How to Serve Rich Chocolate Cream Layer Cake

Garnishes
Dress your Rich Chocolate Cream Layer Cake to impress! A final flourish of whipped cream or extra piped filling creates a cloud-like contrast to the ganache. Chocolate shavings, curls, or even a dusting of cocoa add an elegant edge that hints at all the decadence inside. For a playful twist, fresh berries or edible gold flakes are dazzling extras, too.
Side Dishes
This cake shines solo, but if you want to make it a full dessert event, serve slices with a scoop of vanilla ice cream or a tumble of fresh raspberries. A gently whipped espresso cream or a pour of chilled milk is a sublime match, mellowing that deep chocolate rush with gentle flavors.
Creative Ways to Present
Presentation can take your Rich Chocolate Cream Layer Cake straight to showstopper status. Try assembling mini-cakes using a biscuit cutter for individual servings, or layer the cake in jars for a picnic-friendly treat. A tall glass cake dome not only keeps it fresh but also lets your guests ogle those stunning layers all evening long!
Make Ahead and Storage
Storing Leftovers
If you miraculously have leftovers, rest easy—this cake keeps beautifully! Place any remaining slices in an airtight container and refrigerate. The cream filling and ganache stay firm without becoming dry, and the flavors even deepen after a day or two. Just be sure the container is well sealed so the cake doesn’t absorb any refrigerator odors.
Freezing
Need to prep ahead? Freeze your Rich Chocolate Cream Layer Cake either whole or in individual slices. Wrap slices tightly in plastic wrap, then place in a freezer-safe bag or container. Bring them back to life by thawing overnight in the fridge; try to avoid thawing at room temperature to preserve the texture of the cream filling.
Reheating
This cake is best enjoyed cold or at room temperature, so formal reheating isn’t needed. If you just want to take the chill off, let your slice sit out for 10–15 minutes before serving; the filling softens, the ganache gets extra glossy, and each flavor sings.
FAQs
Can I use Dutch-process cocoa powder instead of natural cocoa?
Absolutely! Dutch-process cocoa gives an even deeper chocolate flavor and a slightly darker color. Just be aware that the cake’s flavor profile might shift a little richer and less acidic, but it works beautifully here.
What if I don’t have buttermilk?
No buttermilk? No problem! You can make a quick substitute by mixing one cup of milk with one tablespoon of lemon juice or vinegar, letting it sit for 5 minutes. This will mimic the tang and moisture buttermilk brings to the Rich Chocolate Cream Layer Cake.
Can I make the cake layers ahead of time?
Yes! Bake the cake layers up to two days in advance. Once cooled, wrap them tightly in plastic wrap and refrigerate or even freeze them for maximum freshness. Wait until the day of serving to assemble and decorate for the softest, most tender results.
How do I get perfect, even layers?
For impressively even layers, use a long serrated bread knife or a cake leveler, working slowly and gently. If you’re nervous, chill the cake beforehand—cool layers are much easier to slice cleanly without crumbling.
Can I use a different size pan for this recipe?
You can! For a taller, even more dramatic look, use 6-inch pans and bake a little longer, checking doneness as you go. Cupcake versions are also delightful, just adjust the bake time and pipe that cream filling right into the center.
Final Thoughts
If your heart beats faster at the idea of dessert layered with chocolate, cream, and ganache, you owe it to yourself to bake this Rich Chocolate Cream Layer Cake. It brings together everything we love about homemade cakes: comfort, celebration, and a serious dose of indulgence. Gather your ingredients, invite some friends, and savor every luscious, chocolatey forkful—you’re about to create memories as rich as the cake itself!

