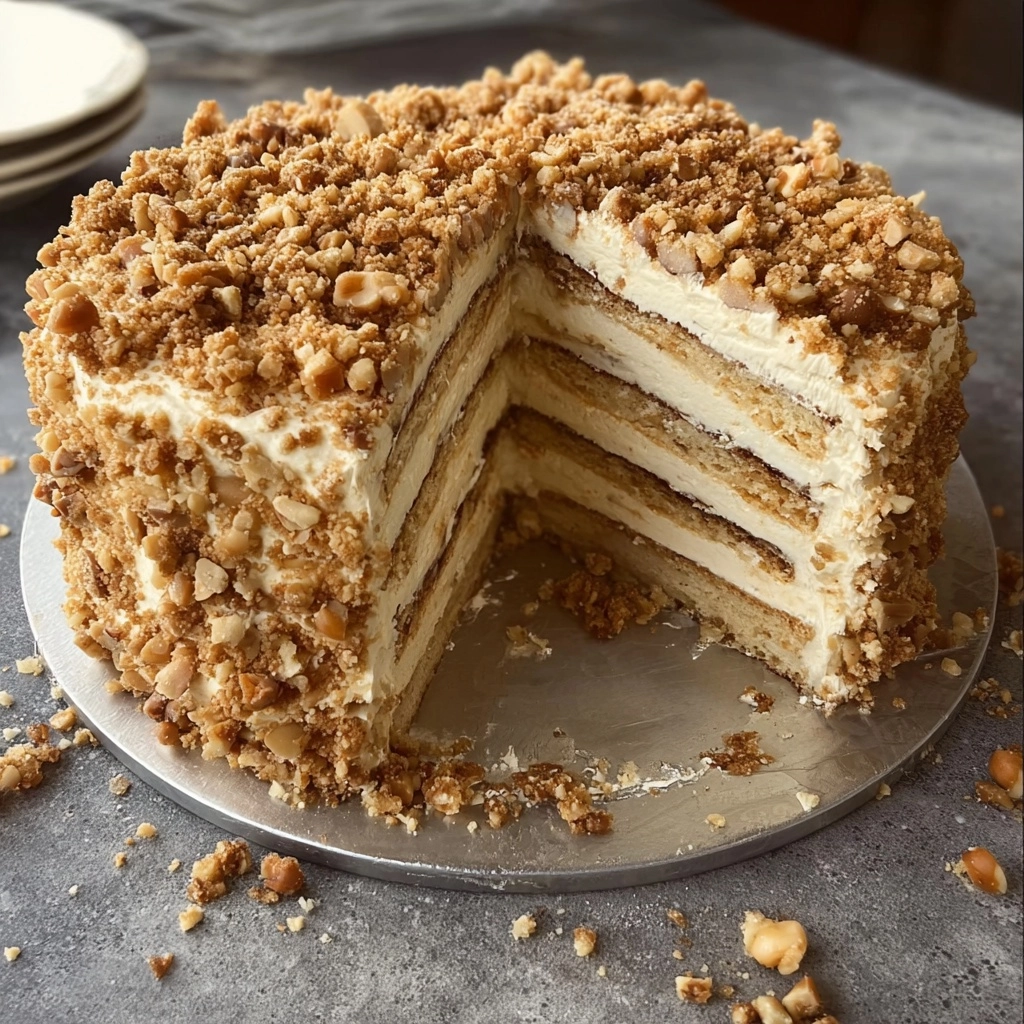
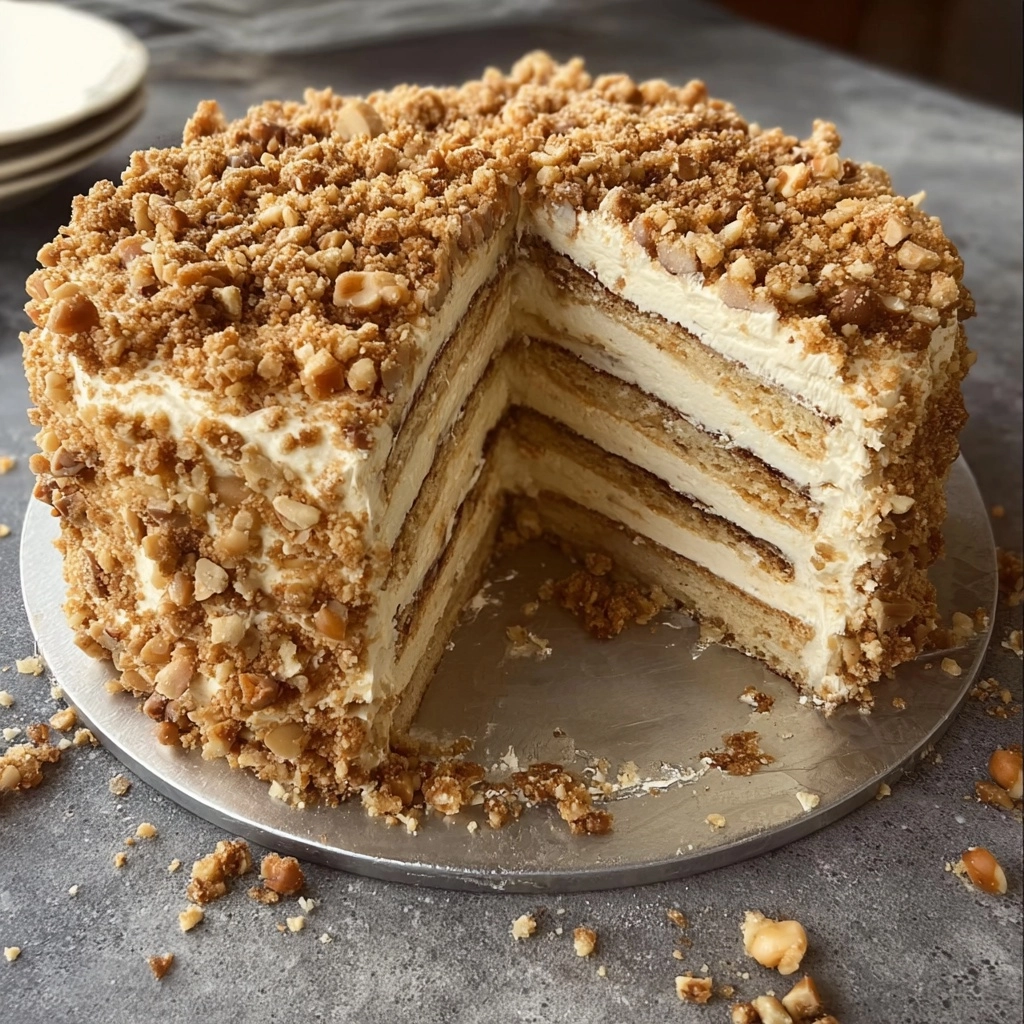
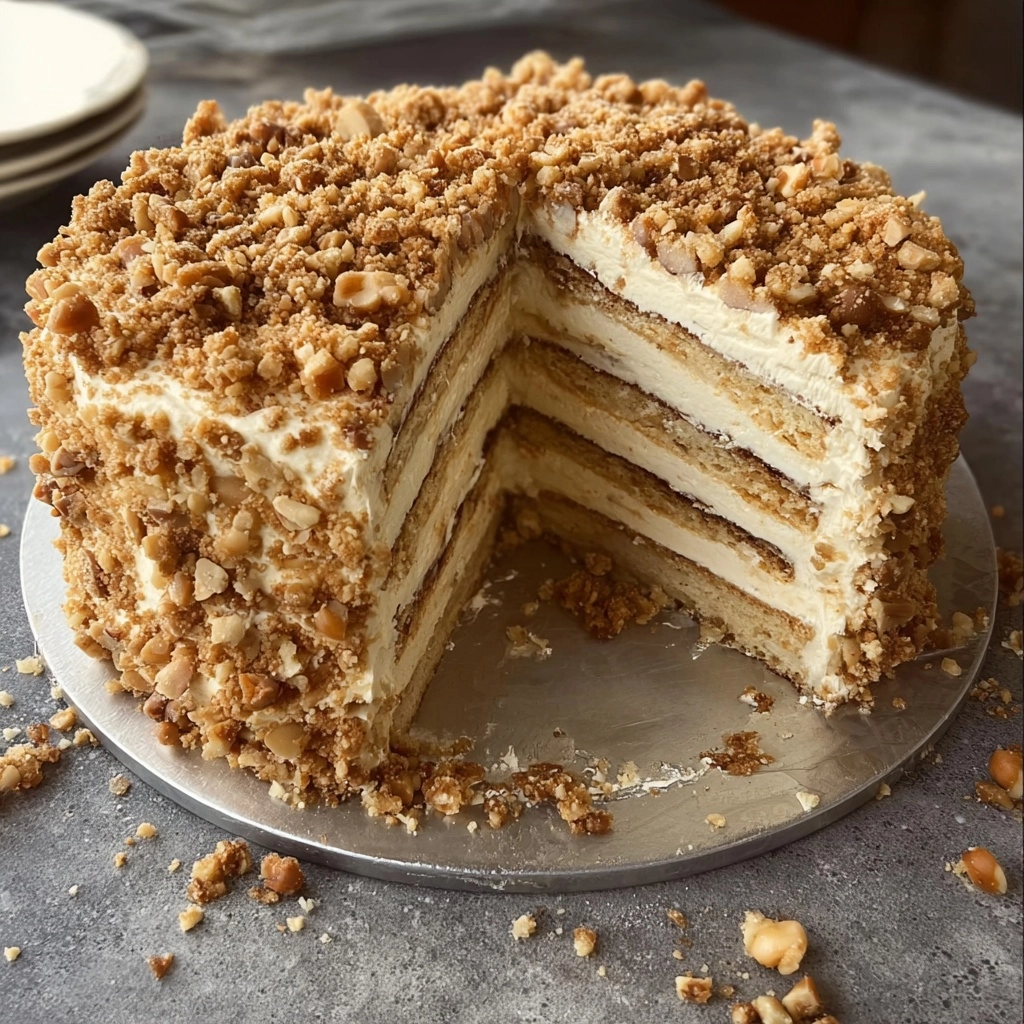
If you’re looking for a showstopping dessert that captures every sense with its nutty aroma, pillowy crumb, and rich, luscious topping, you’ve just found your new favorite: the Irresistible Peanut Layer Cake with Creamy Frosting. Imagine three soft cake layers laced with a buttery richness, topped and filled with a dreamy cream cheese frosting, and finished with a glorious shower of chopped peanuts. It’s a celebration cake designed for pure joy—whether you’re honoring a special occasion or simply sweetening the everyday. This dessert brings comfort, fun, and mouthwatering satisfaction all in one unforgettable bite.

Ingredients You’ll Need
This Irresistible Peanut Layer Cake with Creamy Frosting is made from familiar, easy-to-find ingredients, but don’t be fooled—each one brings essential character to the party! Every item helps create the perfect balance of tender crumb, nutty flair, and that luxurious frosting.
- All-purpose flour: Gives the cake a tender yet sturdy structure, perfect for stacking into impressive layers.
- Sugar: Sweetens the cake and helps get that beautiful golden color on the outside.
- Butter: Imparts rich flavor and moistness—bring it to room temperature for the fluffiest results.
- Eggs: Provide structure and richness, giving your layers lift and a lovely yellow hue.
- Milk: Adds moisture and helps make the crumb extra soft and light.
- Baking powder: The leavening superstar for a perfectly risen cake that’s never dense.
- Vanilla extract: Rounds out the flavor, giving every bite warm, fragrant notes.
- Heavy cream: Blends into the frosting for an ultra-silky, dreamy texture.
- Cream cheese: The star of the creamy frosting—tangy, rich, and irresistible when whipped.
- Peanuts: Roughly chopped for bold flavor and delightful crunch on the cake’s exterior.
- Powdered sugar: Dissolves smoothly into the frosting for that melt-in-your-mouth sweetness.
How to Make Irresistible Peanut Layer Cake with Creamy Frosting
Step 1: Prep Your Cake Pans and Oven
Begin by preheating your oven to 350°F. While it heats up, generously grease your cake pans with butter or nonstick spray and line the bottoms with parchment to guarantee easy, flawless cake release. Getting this step right means your glorious layers will look bakery-perfect—with no sticking or crumbling.
Step 2: Mix Dry Ingredients
In a medium bowl, whisk together your all-purpose flour, sugar, and baking powder. This ensures those lift-inducing ingredients are evenly distributed, preventing any uneven pockets and giving the cake its gorgeous, even crumb.
Step 3: Cream Butter, Sugar, and Add Eggs & Vanilla
Using a stand mixer or a hand mixer, cream the butter and sugar together until pale and fluffy—this step is all about incorporating air for a beautifully light texture. Then, beat in the eggs one at a time, followed by that fragrant vanilla extract, mixing until everything is satiny smooth and irresistible.
Step 4: Combine Wet and Dry with Milk
Now, alternately add your dry ingredients and milk to the butter mixture, starting and ending with the dry. This classic mixing method ensures the batter stays tender, not tough, and mixes up evenly without losing any precious volume.
Step 5: Bake and Cool
Pour the batter evenly into your prepared pans. Bake for 25 to 30 minutes—keep an eye out for a golden top and a cake tester that comes out clean from the center. Once out of the oven, let the layers cool in their pans for a few minutes, then carefully turn them out onto wire racks to cool completely. Patience here pays off—a cool cake means no melting frosting and stunning finished layers.
Step 6: Whip Up Cream Cheese Frosting
Beat together the cream cheese, heavy cream, and powdered sugar until the mixture is fluffy, billowy, and holds soft peaks. This frosting is the very definition of indulgence: tangy, soft, and perfectly spreadable for those gorgeous swoops across your cake.
Step 7: Frost the Cake
Stack your first cake layer on a plate or stand, then generously spread a layer of frosting over it. Repeat with the other layers, then use the rest to cover the top and sides. Don’t worry about perfection—those swirls and peaks are part of the charm!
Step 8: Add Chopped Peanuts
Grab a big handful of roughly chopped peanuts and gently press them into the sides and sprinkle them over the top. Bonus: They add an extra dimension of flavor, crunch, and some serious visual flair to your Irresistible Peanut Layer Cake with Creamy Frosting.
Step 9: Chill Before Serving
For the ultimate experience, let your finished cake chill in the refrigerator for at least an hour. This helps the flavors meld and the frosting set, making it much easier to slice and enjoy every beautiful layer.
How to Serve Irresistible Peanut Layer Cake with Creamy Frosting

Garnishes
This cake shines all on its own, but a few thoughtfully chosen garnishes can take your Irresistible Peanut Layer Cake with Creamy Frosting from lovely to absolutely spectacular. Try an extra scatter of chopped roasted peanuts, a light dusting of powdered sugar for a snowy finish, or even a drizzle of melted chocolate for a touch of decadence. Edible flowers or a sprig of fresh mint add fresh color and whimsy, too.
Side Dishes
Since this cake is deeply flavorful and richly frosted, pair it with something to balance the sweetness. Think of a scoop of vanilla ice cream, a simple fruit salad, or tangy Greek yogurt on the side. For celebrations, serve with coffee, black tea, or an espresso martini—the bold, roasted notes make every bite of peanut perfection pop.
Creative Ways to Present
Get playful with your presentation! Try serving the cake in tall, thin slices on bright, colorful plates for a touch of modern drama, or plate each slice atop a swirl of chocolate or caramel sauce for restaurant-worthy flair. For parties, consider assembling as a “naked” cake with exposed sides, or bake in mini pans for individual layer cakes—each one crowned with its own cluster of peanuts. However you serve it, the Irresistible Peanut Layer Cake with Creamy Frosting is bound to become a memorable centerpiece.
Make Ahead and Storage
Storing Leftovers
Wrap leftover cake tightly in plastic wrap or store it in an airtight cake dome to keep it from drying out. Refrigerated, your Irresistible Peanut Layer Cake with Creamy Frosting will stay moist and delicious for up to four days—if it lasts that long!
Freezing
If you want to make the cake ahead or save a few slices for later, freezing is easy! Slice the cake, wrap each piece individually in plastic wrap, then place the wrapped slices in a freezer bag or container. The cake freezes beautifully for up to two months. Defrost slices overnight in the fridge for the best texture.
Reheating
This cake is best enjoyed chilled or at room temperature, but if you love a slightly softer bite, let slices sit out for 20-30 minutes before serving. For the ultimate treat, pop a slice in the microwave for just 10-15 seconds—the frosting goes dreamy and soft, and the nutty flavors seem to blossom even more.
FAQs
Can I use salted or unsalted peanuts?
Either works, but unsalted peanuts keep the cake’s sweetness in balance. If you love a salty-sweet combo, lightly salted peanuts make for a fantastic, crave-worthy finish on top!
Can I make this cake as cupcakes?
Absolutely! Divide the batter between lined cupcake tins (about two-thirds full), and bake for 18-22 minutes. Adjust the frosting amount so you have enough to swirl high on every cupcake.
How do I avoid overbaking the cake layers?
Start checking your cakes at the 25-minute mark—insert a toothpick into the center. If it comes out with just a few moist crumbs, you’re good to go. Every oven is a little different, so don’t wait for a dark golden color as that may be too late!
Can I swap the cream cheese frosting for something else?
Cream cheese frosting is classic here, but a peanut butter buttercream or chocolate ganache works wonderfully if you prefer. The cake’s mild, nutty flavor pairs beautifully with so many frostings.
What’s the best way to chop peanuts evenly?
Pulse peanuts briefly in a food processor or chop them by hand with a chef’s knife on a large cutting board. Aim for a mix of fine and chunky bits for lots of texture and visual interest on your Irresistible Peanut Layer Cake with Creamy Frosting.
Final Thoughts
Whether you’re baking for a big birthday, a cozy family supper, or just because your sweet tooth calls, there’s something magical about making and sharing an Irresistible Peanut Layer Cake with Creamy Frosting. The combination of homemade cake, creamy swirls of frosting, and a crown of crunchy peanuts is pure happiness on a plate. Don’t hesitate—gather your ingredients and get ready to wow everyone with this nutty, creamy masterpiece!

