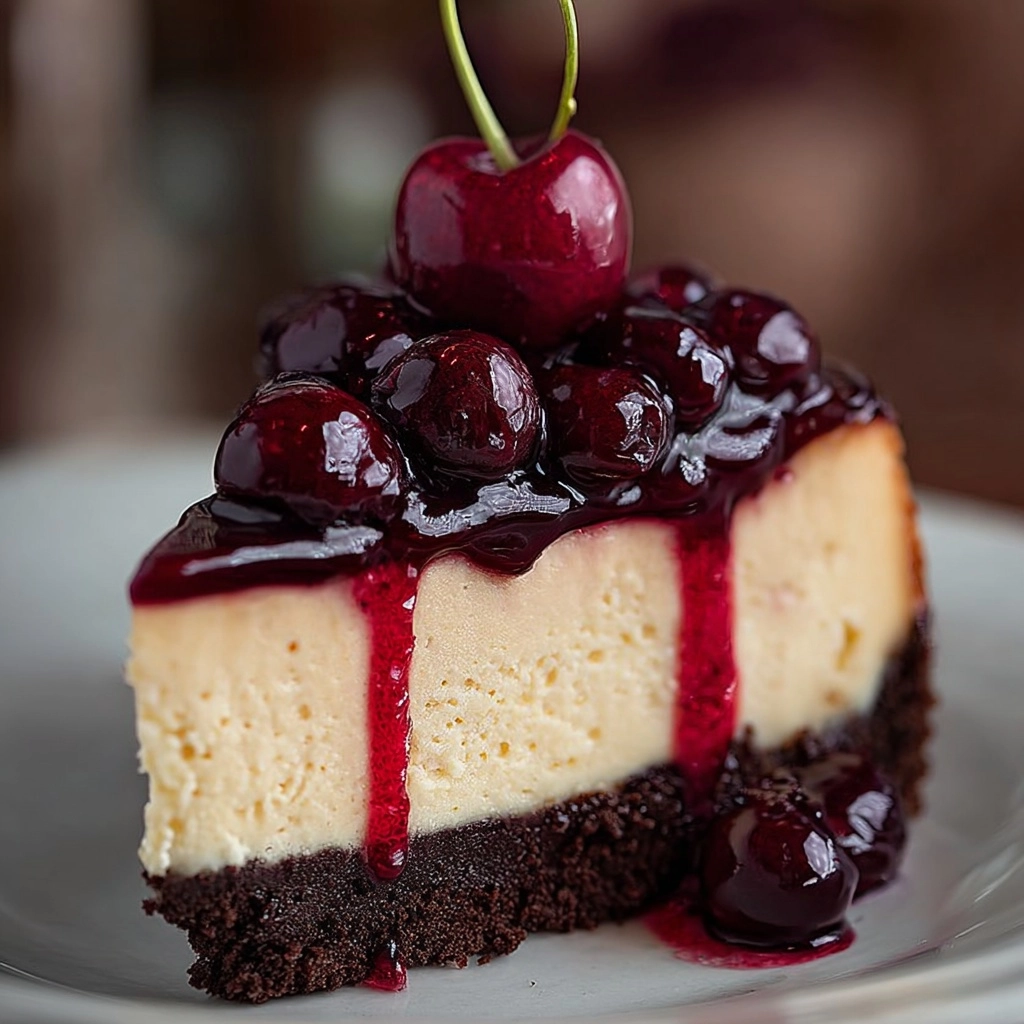
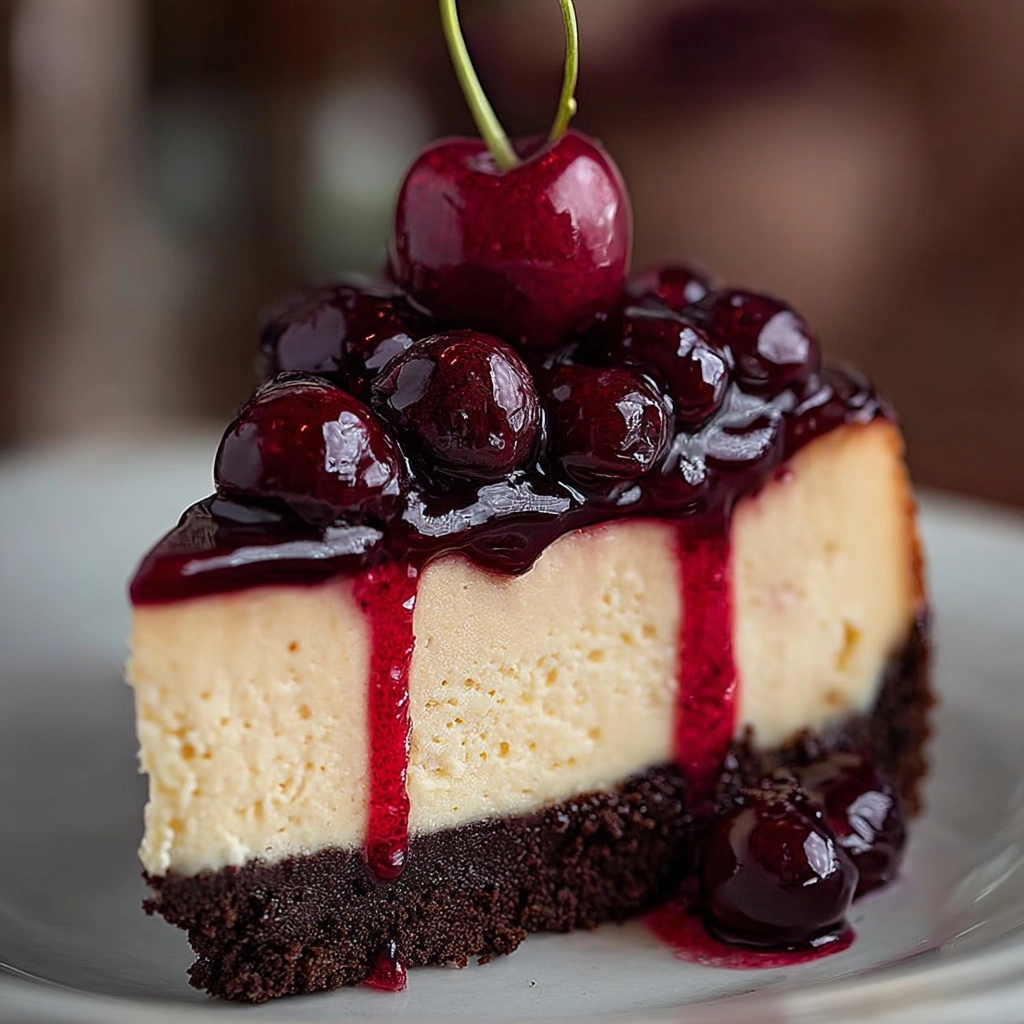
If you’re searching for a show-stopping dessert that combines rich chocolate, creamy cheesecake, and bursts of tangy cherries, look no further than this unforgettable Black Forest Cheesecake. Every bite delivers the best of both worlds: indulgently smooth chocolate cheesecake layered with juicy cherry compote, nestled atop a buttery cookie crust, and finished with clouds of fresh whipped cream and curls of chocolate. This is more than just a dessert—it’s the kind of treat you’ll dream about long after the last slice disappears.
Ingredients You’ll Need

Ingredients You’ll Need
The list is surprisingly manageable, and each ingredient plays a special part in crafting the ultimate Black Forest Cheesecake. From the cookie base to the whipped cream topping, every component brings its own flavor, texture, or color to the table, coming together in pure dessert magic.
- Chocolate cookie crumbs: These create a rich, chocolatey base that perfectly supports the creamy layers above.
- Granulated sugar: Essential for balancing sweetness throughout the crust, cherry filling, and cheesecake itself.
- Unsalted butter: Binds the cookie crumbs and adds just the right amount of melt-in-your-mouth richness.
- Fresh or frozen cherries: The heart of the classic Black Forest flavor, offering a burst of sweet-tart juiciness.
- Lemon juice: Brightens the cherry compote, enhancing the fruitiness without overpowering it.
- Cornstarch and water: Thickens the cherry filling to the perfect spoonable consistency.
- Vanilla extract: Infuses warmth into both the cherry layer and cheesecake filling.
- Cream cheese: The hero of the filling, giving every bite its luscious, tangy-smooth character.
- Sour cream: Adds extra creaminess and a pleasant tang, lightening the filling just enough.
- Eggs: These provide structure, giving the cheesecake its signature set as it bakes.
- Unsweetened cocoa powder: Delivers deep, authentic chocolate flavor without excessive sweetness.
- All-purpose flour: Ensures the filling holds together with a satiny texture.
- Heavy whipping cream: Whips up into a fluffy, cloud-like topping for the final decadent finish.
- Powdered sugar: Sweetens the whipped cream without any grittiness.
- Extra cherries & chocolate curls: The ultimate garnish, both classic and irresistible for your Black Forest Cheesecake.
How to Make Black Forest Cheesecake
Step 1: Prepare the Chocolate Cookie Crust
Start by preheating your oven to 325°F (160°C). Combine the chocolate cookie crumbs, sugar, and melted butter in a bowl, mixing until everything looks like wet sand. Press this flavorful mixture firmly and evenly into the bottom of a 9-inch springform pan. Bake for 10 minutes to set, then let it cool as you move on—you want a sturdy foundation for the next scrumptious layers.
Step 2: Cook the Cherry Filling
While your crust cools, grab a small saucepan and gently heat the cherries, sugar, and lemon juice over medium heat. After about 5 to 6 minutes, the cherries will soften and release their delicious juices. Stir in the cornstarch-and-water slurry, and watch the mixture transform into a gorgeous, glossy compote in just two minutes. Take it off the heat, stir in the vanilla, and let it cool completely—this layer delivers both vibrant color and fruity flavor to your Black Forest Cheesecake.
Step 3: Make the Cheesecake Filling
In a large mixing bowl, beat the softened cream cheese until it’s totally smooth and creamy, then add the sugar and keep mixing until light and fluffy. Blend in the sour cream and vanilla for extra silkiness. Sift in the cocoa powder and flour, mixing until no streaks remain. Finally, add the eggs one at a time on low speed for a velvety, perfectly-set filling. This chocolate cheesecake layer is simply divine.
Step 4: Assemble the Black Forest Cheesecake
Pour half the chocolate cheesecake filling over your cooled crust, smoothing it out. Spread half the cherry filling across the surface, then add the remaining cheesecake batter on top and smooth again. Reserve the rest of the cherry mixture for the topping—the beautiful layers will be revealed in each slice.
Step 5: Bake the Cheesecake
Set the springform pan on a baking sheet and bake for 60 to 70 minutes. You’re looking for the edges to be set but the center to have a slight jiggle. Once done, turn off the oven and crack the door open, letting the cheesecake cool gently inside for an hour—this helps prevent cracking and ensures a creamy texture.
Step 6: Chill the Cheesecake
After it’s cooled to room temperature, transfer your Black Forest Cheesecake to the fridge and chill for at least 4 hours, or overnight if you can wait. This step allows the flavors to meld and the structure to firm up beautifully for clean, picture-perfect slices.
Step 7: Whip the Cream
Right before serving, whip together the heavy cream, powdered sugar, and vanilla until stiff peaks form. This dreamy topping adds a light, fluffy contrast to the rich cheesecake and ties all the flavors together. Pipe or spread it around the top edges for bakery-worthy flair.
Step 8: Garnish and Serve
Spoon the reserved cherry filling into the center of your cake, and finish with a flourish of chocolate curls and extra cherries on top. To serve, use a warm, clean knife for slices that look as enticing as they taste. Now you’re ready to share and enjoy your Black Forest Cheesecake masterpiece!
How to Serve Black Forest Cheesecake
Garnishes
Topping your Black Forest Cheesecake is all about balancing beauty and flavor. A generous crown of whipped cream around the edges, glossy cherries piled in the center, and a sprinkling of chocolate curls or shavings make each slice an absolute showpiece. Don’t be shy with the garnishes—it’s the finishing touch that pays homage to the classic German dessert.
Side Dishes
While this cheesecake can certainly stand alone, pairing it with some simple sides really elevates dessert hour. Pour strong coffee or rich hot chocolate to complement the intense chocolate-cherry flavors. For a lighter balance, fresh berries or a tart fruit salad on the side can offer a bright, refreshing contrast.
Creative Ways to Present
Black Forest Cheesecake is endlessly adaptable for special occasions. Try serving it as individual mini cheesecakes in jars for parties, or slice and stack pieces on a tiered dessert stand for afternoon tea. A drizzle of cherry sauce down each plate or a sprig of mint with every slice adds elegance and promises a treat that looks as good as it tastes.
Make Ahead and Storage
Storing Leftovers
If you find yourself with leftover Black Forest Cheesecake (as unbelievable as that sounds!), cover it tightly and store in the fridge for up to five days. The flavors deepen as it sits, so sneaking a slice the next day is a real reward. Just make sure it’s well-sealed to prevent it from picking up any fridge odors.
Freezing
Black Forest Cheesecake holds up beautifully in the freezer. Wrap individual slices or the whole (ungarnished) cheesecake tightly in plastic wrap, then foil, and freeze for up to three months. Thaw overnight in the refrigerator, then add whipped cream and cherries just before serving for best texture and appearance.
Reheating
Cheesecake is best enjoyed chilled, but if you’re looking for a softer bite, let your Black Forest Cheesecake rest at room temperature for about 30 minutes before serving. Microwaving is not recommended, as it can alter the creamy texture, but warming your knife for slicing will always give beautifully clean edges.
FAQs
Can I use frozen cherries if fresh aren’t available?
Absolutely. Frozen cherries work perfectly for the compote. There’s no need to thaw them first—simply cook from frozen. The results will be just as vibrant and delicious, making Black Forest Cheesecake a year-round delight.
What’s the best way to prevent cheesecake cracks?
Great question! Beating the filling on low speed once the eggs are added, not over-baking, and allowing the cake to cool gradually in the oven with the door cracked all help. Don’t skip chilling before removing it from the pan—patience leads to a flawless Black Forest Cheesecake.
Can I make the cheesecake ahead of time?
Definitely! Black Forest Cheesecake is actually better when made a day in advance. This allows the flavors to develop and the texture to set, making for perfect slices and less rush on the day you serve it.
How do I get clean, beautiful slices?
For picture-perfect slices, run a sharp knife under hot water, wipe it dry, and slice. Clean the blade between each cut. This ensures each piece of cheesecake looks bakery-worthy.
Can I make this gluten-free?
Absolutely! Use gluten-free chocolate cookies for the crust and swap the flour in the filling for a gluten-free blend (or even cornstarch). The cheesecake will be just as decadent and satisfying for everyone to enjoy.
Final Thoughts
There’s something truly special about making a Black Forest Cheesecake from scratch—each layer, each bite, feels like a little celebration. Give it a try and treat yourself and your loved ones to a slice of pure chocolate-cherry happiness. You might just find a new favorite for every special occasion (or any time you’re craving a little indulgence).

