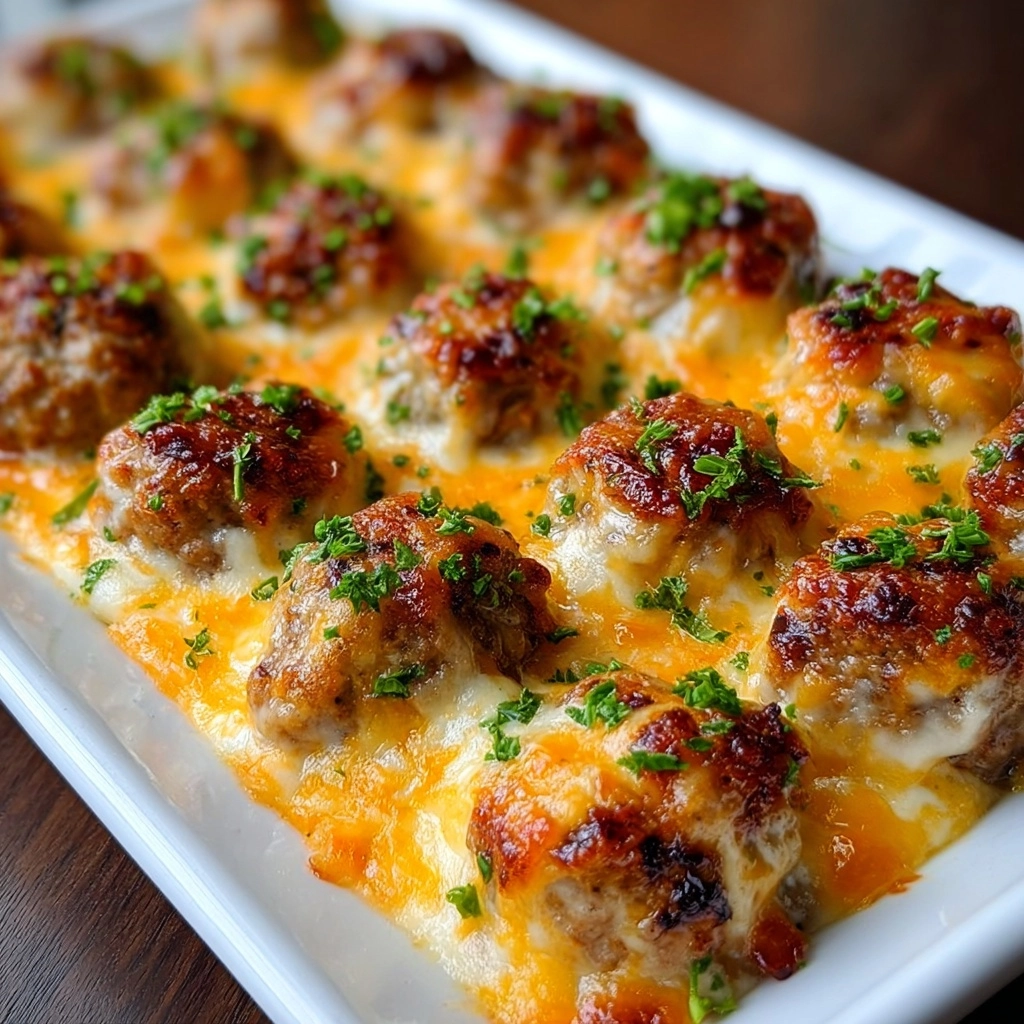
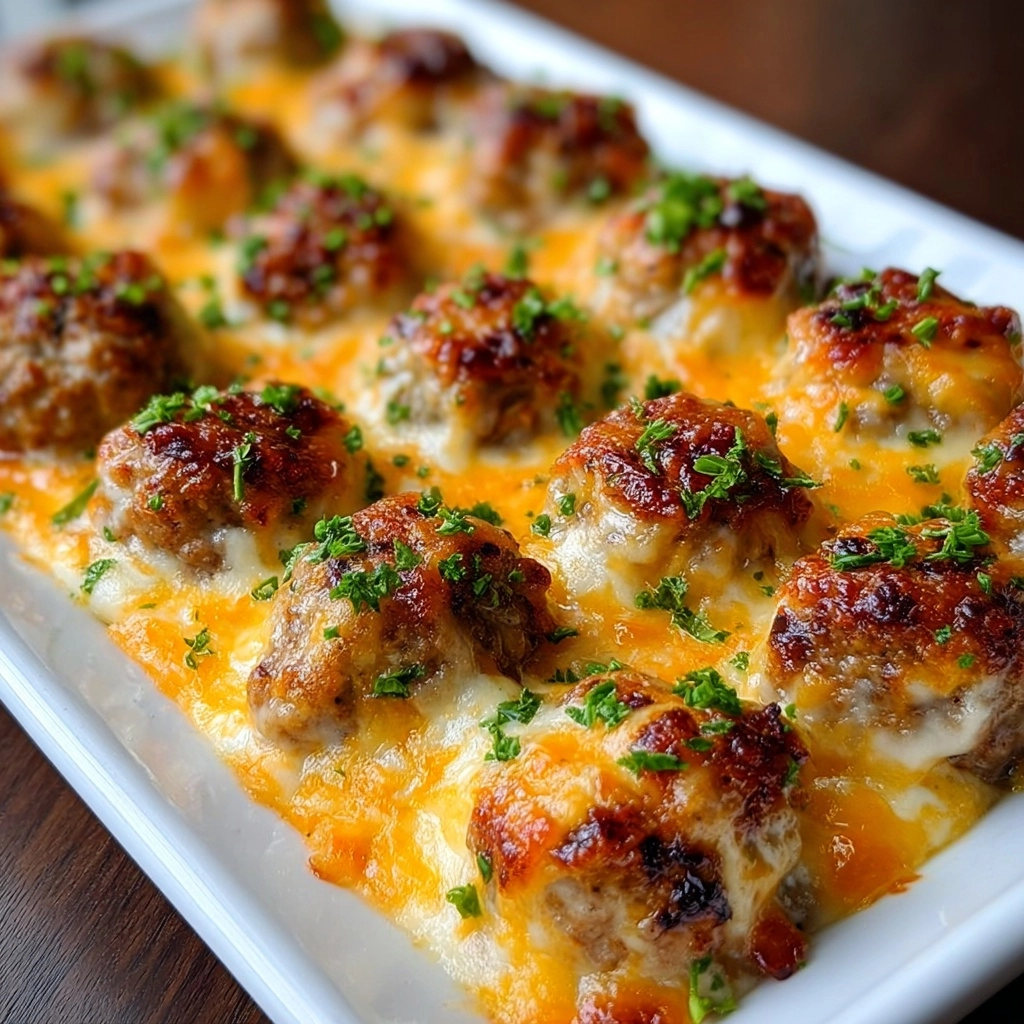
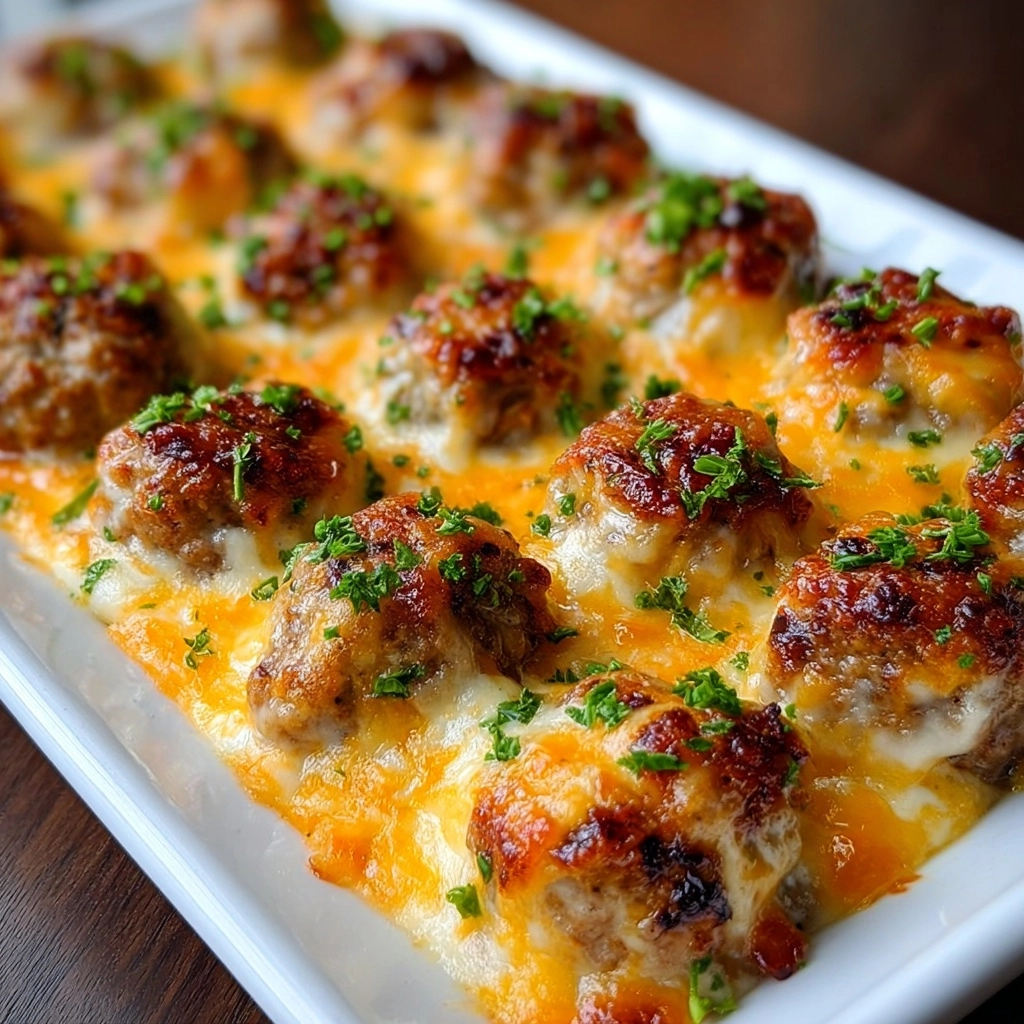
If comfort food had a spicy, cheesy, and irresistibly tangy alter ego, it would undeniably be the Cheesy Buffalo Ranch Meatball Bake. Imagine juicy meatballs baked in a zesty buffalo ranch sauce, nestled under a melting blanket of cheese, and finished with a flutter of green onions. This dish is all about bold flavors meeting gooey, creamy textures—making it a guaranteed crowd-pleaser perfect for game day, potlucks, or shaking up your regular dinner routine. Every bite brings that crave-worthy combo of heat, coolness, and just enough richness to keep you coming back for seconds (or thirds!).

Ingredients You’ll Need
Gathering the ingredients for Cheesy Buffalo Ranch Meatball Bake couldn’t be more straightforward, but each one plays an important role in building flavor and creating that mouthwatering, melty finish. Here’s what you’ll need—and why you don’t want to skip a thing!
- Ground beef: The hearty base for your meatballs, bringing savory richness and tender texture.
- Breadcrumbs: These help bind the meatballs and keep them deliciously moist.
- Egg: A classic binder ensuring everything holds together while adding a touch of richness.
- Milk: Softens breadcrumbs for extra tender meatballs.
- Garlic powder: Lends a subtle aromatic kick without overpowering the other flavors.
- Onion powder: Infuses savory depth and that homestyle comfort flavor.
- Salt: Highlights and balances every other ingredient.
- Black pepper: Adds gentle heat and a hint of earthiness.
- Bottle of buffalo wing sauce: The spicy tangy star that gives this bake its signature kick.
- Ranch dressing mix: Brings herby, cool flavors that mellow out the heat.
- Cream cheese: Turns the sauce luscious and creamy, balancing the boldness of the buffalo sauce.
- Shredded cheddar cheese: Melts into golden gooeyness and adds a sharp, cheesy punch.
- Shredded Monterey Jack cheese: Gives an extra layer of creamy melt and mild flavor to contrast the cheddar.
- Chopped green onions: Such a simple garnish, but they add a pop of freshness and color you don’t want to miss.
How to Make Cheesy Buffalo Ranch Meatball Bake
Step 1: Preheat Your Oven
Set your oven to 375°F (190°C) so it’s piping hot and ready for both the meatballs and the final bubbly bake—there’s nothing like a perfectly preheated oven for that golden, melty result.
Step 2: Mix Up the Meatball Mixture
In a big bowl, gently blend together your ground beef, breadcrumbs, beaten egg, milk, garlic powder, onion powder, salt, and black pepper. Stir just until combined; overmixing can make your meatballs tough rather than tender and juicy.
Step 3: Shape and Arrange Meatballs
Roll the mixture into approximately 1.5-inch balls—bite-sized and perfect for scooping. Lay them on a parchment-lined baking sheet for easy cleanup and even cooking.
Step 4: Bake the Meatballs
Transfer your assembled meatballs into the oven and bake for 20 to 25 minutes. You’ll want them to be browned and just cooked through for the best bite and flavor.
Step 5: Whip Up the Buffalo Ranch Sauce
While the meatballs are working their magic in the oven, mix 3/4 of your bottle of buffalo wing sauce with the ranch dressing mix in a small bowl. This is where the signature tang and flavor of Cheesy Buffalo Ranch Meatball Bake really start to develop!
Step 6: Cream Cheese Buffalo Layer
In another bowl, soften the cream cheese (pop it in the microwave for a few seconds if needed) and blend in the remaining 1/4 of buffalo sauce. This creates that luscious creamy layer that helps cool the heat and adds rich depth to every bite.
Step 7: Transfer and Sauce the Meatballs
Once baked, nestle the meatballs closely together (think cozy casserole style) in a 9×13-inch baking dish. Pour over your buffalo ranch sauce and toss gently to coat all the meatballs in that glorious flavor.
Step 8: Spread the Cream Cheese Mixture
Dollop and smooth the cream cheese mixture over the saucy meatballs. Don’t worry if it’s not perfectly even—it’ll melt and swirl into the bake for pockets of creamy goodness.
Step 9: Sprinkle with Cheese
Top it all off with 3/4 cup of the cheddar and all the Monterey Jack cheese. This is the step that brings that over-the-top, gooey cheese factor to your Cheesy Buffalo Ranch Meatball Bake.
Step 10: Bake Until Bubbly
Return the dish to the oven and bake for 15 to 20 minutes, or until everything is beautifully melted and bubbling at the edges. That’s when you know it’s going to be absolutely irresistible!
Step 11: The Finishing Touch
Sprinkle on the remaining cheddar and generous handfuls of chopped green onions right before serving. It’s the last pop of color and fresh flavor that seals the deal.
How to Serve Cheesy Buffalo Ranch Meatball Bake

Garnishes
Chopped green onions bring a burst of freshness that cuts through all that creamy, spicy richness. You could also add a sprinkle of fresh parsley or even a few crumbles of blue cheese if you love that extra zip.
Side Dishes
This showstopper is hearty enough to serve as a main, so pair it with a simple green salad, roasted veggies, or even crispy potato wedges for the ultimate comfort food feast. Cool celery sticks or carrot sticks balance the heat, just like your favorite wings night.
Creative Ways to Present
Try serving Cheesy Buffalo Ranch Meatball Bake as sliders—pile a few meatballs onto soft buns for party-perfect sandwiches. Let everyone build their own or serve the bake straight from the dish for a casual family-style vibe. For appetizer hour, thread a couple of meatballs onto toothpicks and drizzle with extra buffalo sauce!
Make Ahead and Storage
Storing Leftovers
Leftover Cheesy Buffalo Ranch Meatball Bake keeps beautifully in the fridge for up to three days. Store it in an airtight container to keep it fresh and to lock in all that zesty, cheesy goodness. The flavors deepen overnight, making tomorrow’s lunch even more tempting.
Freezing
You can freeze the entire bake or just extra meatballs (sauce and all!). Allow it to cool completely, then wrap tightly or transfer to freezer-safe containers. It’ll keep for up to three months. Thaw overnight in the fridge for best results.
Reheating
For best results, reheat leftovers in the oven at 350°F until hot and melty (about 20 minutes). Individual portions can be microwaved in short bursts, but a covered baking dish in the oven keeps everything from drying out and brings back that freshly-baked texture.
FAQs
Can I use ground chicken or turkey instead of beef?
Absolutely! Both ground chicken and turkey make delicious, slightly lighter options for Cheesy Buffalo Ranch Meatball Bake—just be sure to watch the cook time, as leaner meats cook quickly.
What’s the best way to make the meatballs extra juicy?
Resist overmixing your meatball mixture and don’t skip the milk or breadcrumbs. These ingredients keep everything wonderfully moist and tender, even after baking.
How spicy is this dish?
With a whole bottle of buffalo wing sauce, there’s definitely a kick, but the richness of cream cheese and cheese helps balance out the heat. If you prefer things milder, choose a mild buffalo sauce or add a bit more cream cheese.
Can I make the meatballs ahead of time?
Yes! The meatballs can be fully cooked ahead and stored in the fridge or freezer. Assemble with the sauces and cheese right before baking for an almost-instant, fresh-from-the-oven meal.
How do I double the recipe for a crowd?
Simply double all ingredients and use two 9×13-inch pans (or one extra-large baking dish). Baking time might be a few minutes longer if your oven is very full, so keep an eye out for bubbly cheese and golden tops!
Final Thoughts
If you’re searching for your next go-to comfort food or a guaranteed party hit, Cheesy Buffalo Ranch Meatball Bake is destined for your regular rotation. It’s fun, bold, and always brings people together. Grab those ingredients and treat yourself to this cheesy, saucy masterpiece soon—you (and anyone lucky enough to share it) won’t be disappointed!


