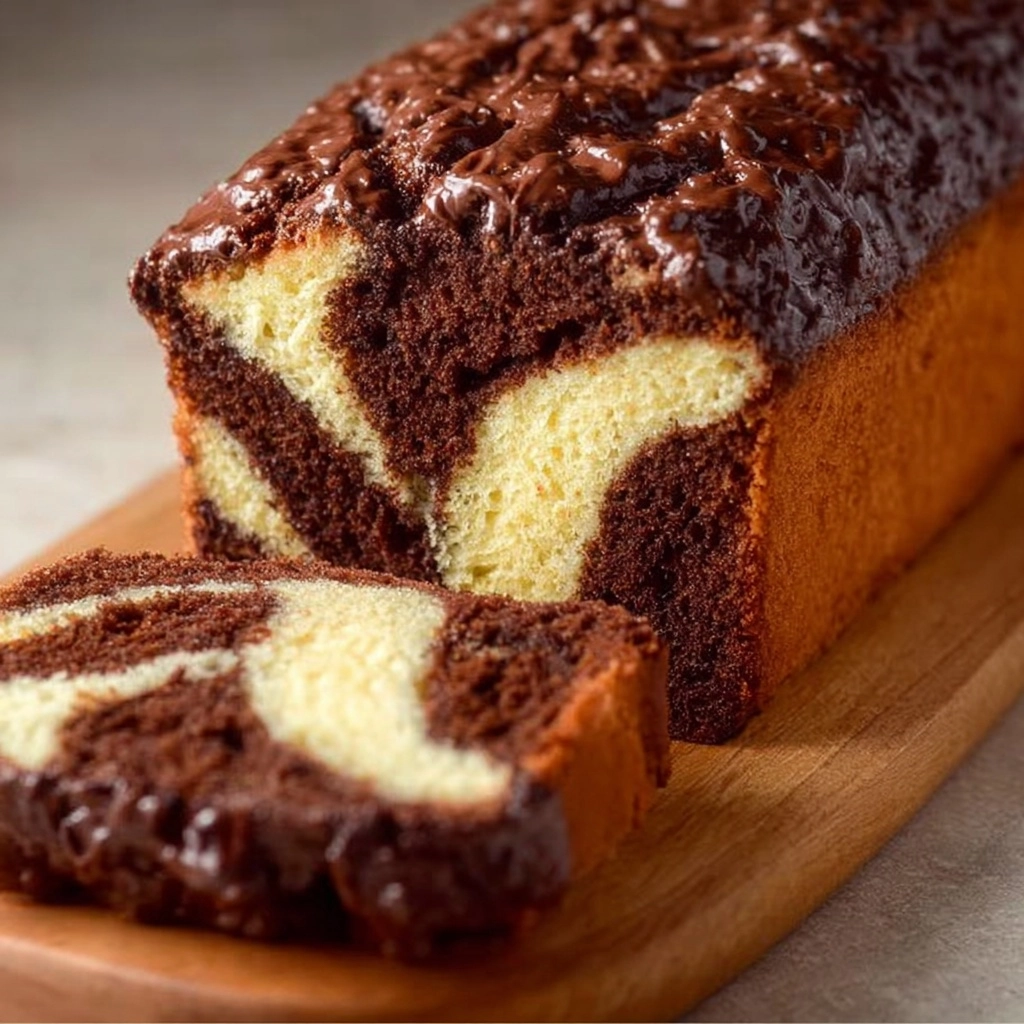
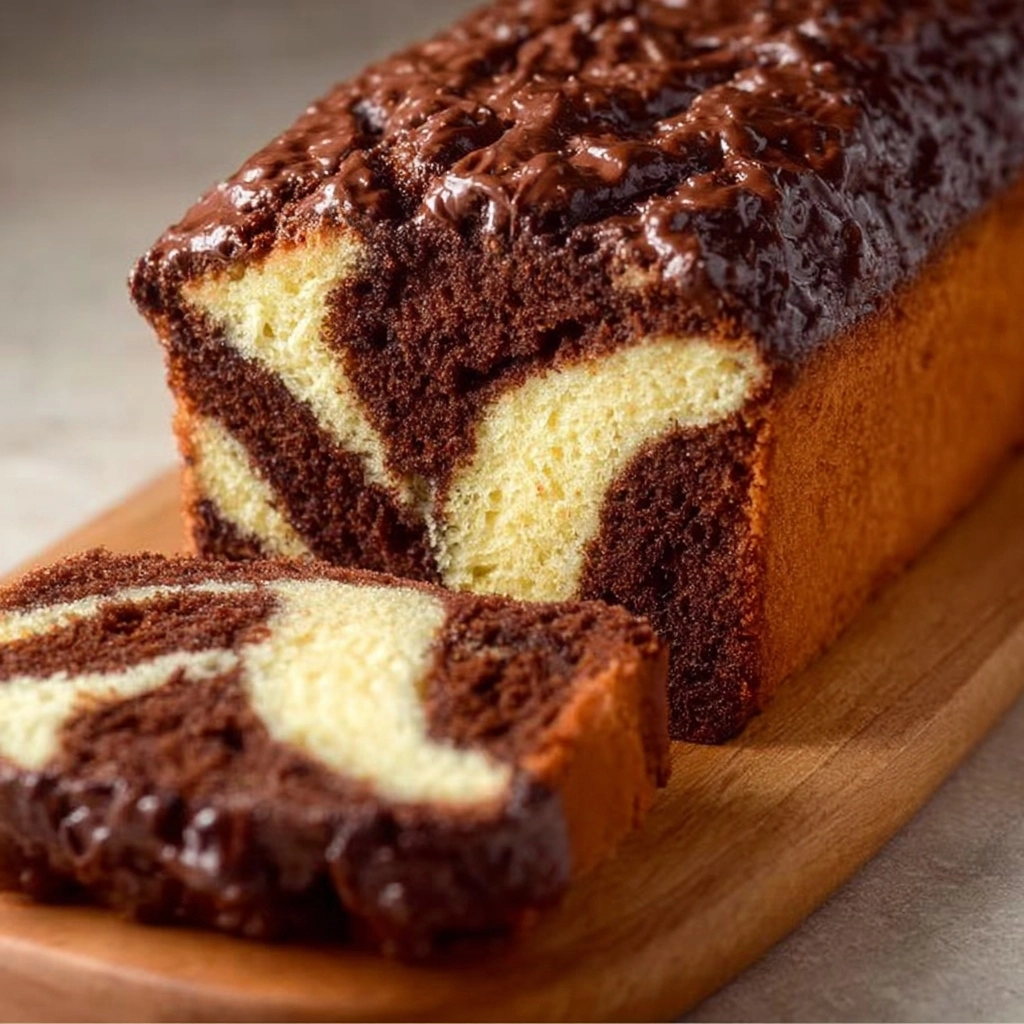
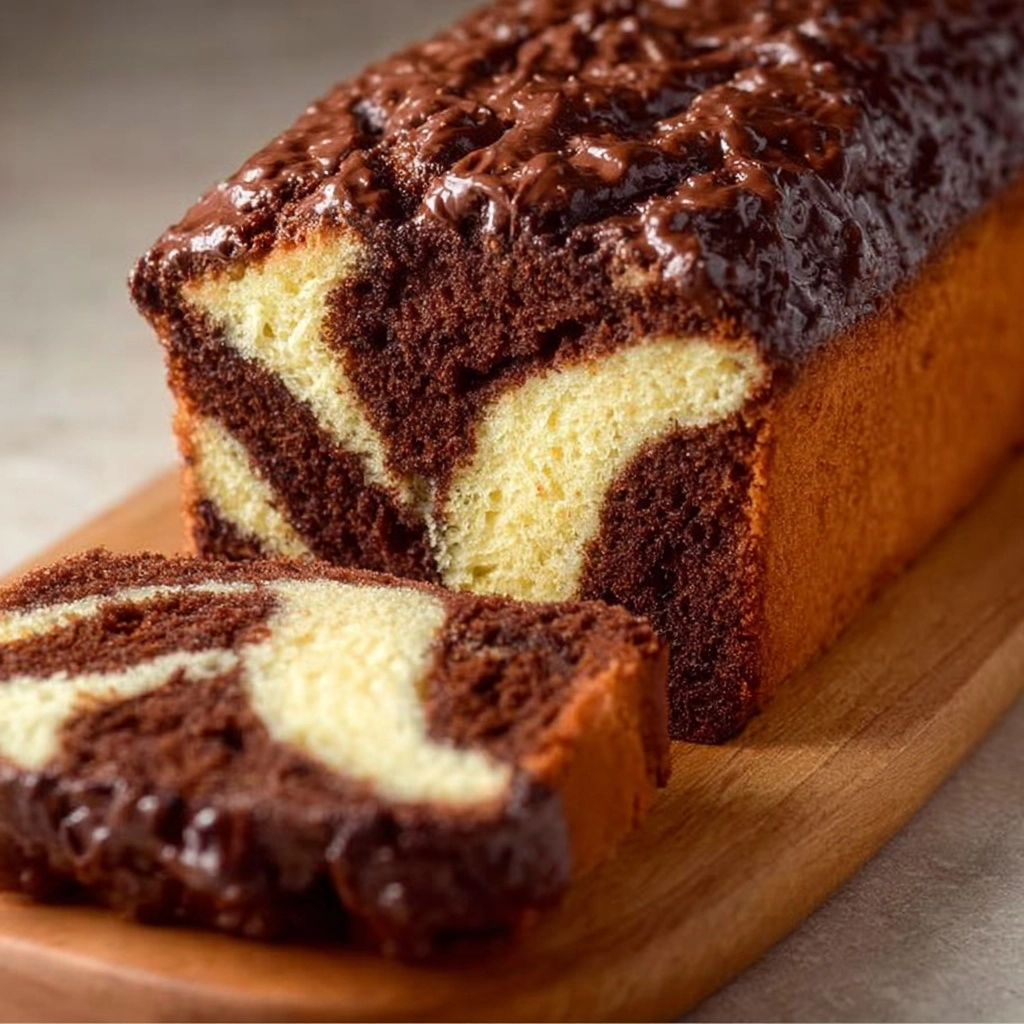
If you’re searching for a dessert that combines playfulness with comforting nostalgia, Classic Swirl Marble Cake is exactly what you need. This cake is a delightful fusion of rich chocolate and fragrant vanilla, swirling together to create beautiful patterns in every slice. It’s always a crowd-pleaser, perfect for sharing at family gatherings or keeping all to yourself for a cozy treat. Between its striking appearance and irresistible taste, Classic Swirl Marble Cake has earned a permanent spot in my baking repertoire.

Ingredients You’ll Need
The ingredients for Classic Swirl Marble Cake are simple pantry staples, but each one plays a crucial role in the cake’s tender crumb and signature marbled look. Choosing quality ingredients will make your cake truly stand out, so let’s go through them one by one!
- All-purpose flour: The structure and foundation of your cake, keeping every swirl moist but firm enough to slice beautifully.
- Sugar: Adds that essential sweetness and gives the cake a soft, delicate crumb.
- Milk: Brings everything together for a smooth, rich batter and helps achieve a perfectly tender texture.
- Unsalted butter or vegetable oil: Butter adds rich flavor, while oil keeps your cake extra moist—use your favorite or experiment!
- Large eggs: Bind the batter and help the cake rise for that light, fluffy finish.
- Baking powder: Ensures your Classic Swirl Marble Cake reaches just the right height and softness.
- Vanilla extract: Infuses the vanilla batter with warm, comforting aroma.
- Unsweetened cocoa powder: The secret behind those dreamy chocolate swirls.
- Hot water or milk (to mix with cocoa): Helps the cocoa blend smoothly into the batter, preventing lumps and intensifying chocolate flavor.
- Salt: Just a pinch balances the sweetness and enhances all the flavors.
How to Make Classic Swirl Marble Cake
Step 1: Prep the Pan and Preheat
Start by greasing and lining your 9×5-inch loaf pan or 8-inch round pan—whichever shape speaks to you today. Preheat your oven to 170°C (340°F), so it’s nice and hot when you’re ready to bake. This simple prep work ensures your Classic Swirl Marble Cake comes out cleanly and bakes evenly.
Step 2: Cream Butter and Sugar
In a large mixing bowl, cream together the butter and sugar until the mixture becomes light, fluffy, and almost pale in color. This crucial step helps the cake achieve a beautiful rise and that melt-in-your-mouth texture we all crave.
Step 3: Add the Eggs and Vanilla
Add the eggs one at a time, beating well after each addition. This gradual mixing ensures everything stays airy and smooth. Once the eggs are fully incorporated, stir in the vanilla extract for a gentle waft of sweetness.
Step 4: Mix the Dry Ingredients
In a separate bowl, whisk together the flour, baking powder, and salt. By combining these dry ingredients evenly, you’ll avoid little pockets of flour or bitter baking powder in the finished cake.
Step 5: Combine Wet and Dry Ingredients with Milk
Now, it’s time to bring it all together: Add your dry ingredients to the wet mixture, alternating with splashes of milk. Start and finish with the flour mixture. Mix gently until you have a smooth, velvety batter—don’t overmix or you’ll lose some of that lovely airiness.
Step 6: Make the Chocolate Batter for Classic Swirl Marble Cake
Divide the batter between two bowls. In one bowl, dissolve the cocoa powder in hot water or milk, then stir it into the batter until you get a rich, glossy chocolate mixture. This is the magic that gives Classic Swirl Marble Cake its iconic contrast!
Step 7: Create the Swirls
Spoon the vanilla and chocolate batters into your prepared pan, alternating for a patchwork pattern. Once you’ve filled the pan, take a knife and gently swirl the batters together—just enough to create beautiful marbling, but not so much that the colors blend together completely.
Step 8: Bake to Perfection
Pop your cake in the oven and bake for 45 to 55 minutes, or until a toothpick inserted into the center comes out clean. Your kitchen will smell absolutely heavenly, and the cake should be golden on top with stunning marbled swirls inside.
Step 9: Cool and Enjoy
Let your cake cool in the pan for about 10 minutes, then transfer to a wire rack to cool completely. Once it’s at room temperature, slice into it and admire those show-stopping swirls. It’s time to dig into your Classic Swirl Marble Cake!
How to Serve Classic Swirl Marble Cake

Garnishes
Your Classic Swirl Marble Cake is gorgeous on its own, but a little something extra never hurts. Try a dusting of powdered sugar for elegance, a drizzle of chocolate ganache for decadence, or a few berries for a pop of color. Sometimes, a simple dollop of whipped cream can turn each slice into a celebration.
Side Dishes
This cake pairs beautifully with fresh fruit, a scoop of vanilla ice cream, or a side of tangy Greek yogurt. If serving for brunch, offer some hot coffee or a fragrant cup of tea—the subtle bitterness is perfect alongside the cake’s sweetness.
Creative Ways to Present
Turn your Classic Swirl Marble Cake into a festive centerpiece by slicing and arranging pieces in a fan on a platter, or cutting it into cubes for a dessert platter. For an extra-special look, layer slices with fruit and cream in parfait glasses or use heart-shaped cookie cutters for whimsical afternoon tea treats.
Make Ahead and Storage
Storing Leftovers
If you somehow have leftovers (trust me, it’s rare!), wrap your Classic Swirl Marble Cake tightly in plastic wrap or store in an airtight container at room temperature for up to 3 days. This helps retain the cake’s moisture and keeps every bite just as tender as the first.
Freezing
Classic Swirl Marble Cake freezes beautifully! Wrap individual slices or the whole cake tightly in plastic wrap and place in a freezer bag. Freeze for up to 2 months, then simply thaw overnight at room temperature when you’re ready to enjoy.
Reheating
If you like a warm slice, gently reheat a piece in the microwave for 10–15 seconds. This brings back that fresh-from-the-oven aroma and softens the crumb—it’s almost like having a brand-new Classic Swirl Marble Cake each time.
FAQs
Can I use oil instead of butter in Classic Swirl Marble Cake?
Absolutely! Oil gives the cake an especially moist and tender crumb, while butter offers a deeper, richer flavor. Either works wonderfully, so it’s all up to your personal taste.
Why did my swirls blend together instead of staying defined?
Swirling too much can merge the batters rather than marbling them. For defined swirls, simply drag a knife through the batter a few times, just enough to create a pattern—not more!
How do I prevent my cake from sticking to the pan?
Make sure you thoroughly grease and line your pan with parchment paper before adding the batter. This helps ensure your Classic Swirl Marble Cake pops out perfectly with those gorgeous swirls intact.
Can I double the recipe for a larger group?
Yes, you can easily double the recipe and use a larger pan or even divide it into two pans. Just make sure to check for doneness with a toothpick, as thicker cakes may take a bit longer to bake.
Is Classic Swirl Marble Cake suitable for special diets?
With a few swaps, you can make it fit your needs! Use a non-dairy milk and oil instead of butter for a lactose-free version, or try a gluten-free flour blend to make it gluten-free. The results are still delicious.
Final Thoughts
If you’re craving a treat that’s as fun to look at as it is to eat, Classic Swirl Marble Cake is your answer. The process feels a little magical, and the result is always worth it—fluffy, rich, and perfectly marbled every time. Enjoy baking (and sharing) this classic with the people you love!

