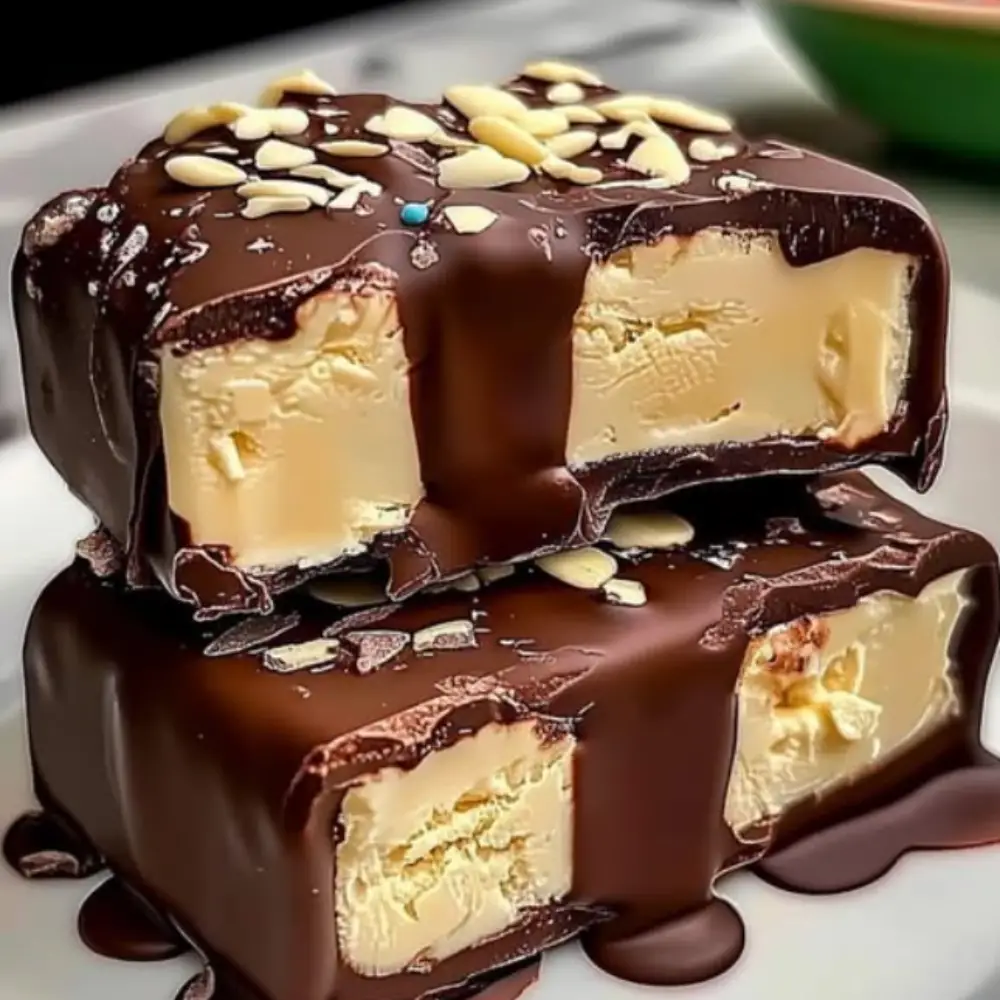
Homemade Chocolate-Covered Ice Cream Bars are a delicious and nostalgic dessert that pairs creamy ice cream with a smooth chocolate shell and your choice of fun, crunchy toppings. Whether it’s a warm summer afternoon or a late-night craving, these frozen treats offer a perfect balance of richness, texture, and cool refreshment.
Why You’ll Love This Recipe
These ice cream bars are easy to make and customizable with your favorite flavors and toppings. You control the ingredients, making them ideal for dietary preferences and creative flavor combinations. Perfect for parties, family treats, or a DIY dessert project with kids, they’re as fun to make as they are to eat.
ingredients
(Tip: You can find the complete list of ingredients and their measurements in the recipe card below.)
vanilla ice cream (or any flavor of your choice)
melting chocolate (milk, dark, or white)
crushed nuts (e.g., almonds, peanuts, pistachios)
crushed cookies (e.g., Oreos, graham crackers)
sprinkles (rainbow, chocolate, etc.)
popsicle sticks
directions
Step 1: Prepare the Ice Cream
Scoop the ice cream into a rectangular dish or silicone mold, pressing it evenly to form a compact layer.
Insert popsicle sticks into the center of each bar or mold cavity.
Freeze for at least 4 hours, or until the bars are completely solid.
Step 2: Melt the Chocolate
In a microwave-safe bowl, melt the chocolate according to the package instructions, stirring every 20–30 seconds until smooth and glossy.
Let the melted chocolate cool slightly, but not harden.
Step 3: Coat the Ice Cream Bars
Remove the frozen ice cream bars from the mold or dish. If using a dish, cut into bar-sized portions.
Quickly dip each bar into the melted chocolate, covering completely or partially as desired. Allow excess chocolate to drip off.
Step 4: Add Toppings
While the chocolate coating is still wet, immediately sprinkle your choice of toppings (nuts, cookies, sprinkles) onto each bar.
Work quickly before the chocolate sets.
Step 5: Freeze Again
Place the coated bars on a parchment-lined baking sheet and return to the freezer for about 30 minutes to allow the chocolate to fully harden.
Step 6: Serve and Enjoy
Once the chocolate is set, your homemade ice cream bars are ready to enjoy. Serve straight from the freezer for a refreshing treat.
Servings and timing
This recipe makes 8 ice cream bars.
Prep time: 10 minutes
Freezing time: 4 hours (plus 30 minutes for coating set)
Total time: Approximately 4 hours 40 minutes
Variations
-
Flavor Swap: Use strawberry, chocolate, mint chip, or coffee ice cream.
-
Double-Dip: Dip in one type of chocolate, freeze briefly, then dip in another for a layered effect.
-
Topping Bar: Offer a variety of toppings and let everyone customize their own.
-
Vegan Version: Use dairy-free ice cream and vegan chocolate.
-
Gourmet Finish: Add sea salt flakes, toasted coconut, or crushed freeze-dried fruit.
storage/reheating
Store the finished ice cream bars in an airtight container or zip-top bag in the freezer for up to 2 weeks.
Do not thaw or reheat—serve directly from the freezer for the best texture.
FAQs
Can I use store-bought ice cream?
Yes, any store-bought or homemade ice cream works for this recipe.
How do I keep the chocolate from cracking off?
Make sure the chocolate isn’t too hot when dipping and freeze the bars immediately after coating.
What’s the best chocolate to use?
Use high-quality melting chocolate or baking chocolate for smooth coverage. Avoid chocolate chips unless specifically made for melting.
Can I use molds?
Yes, silicone popsicle molds work best for even shapes and easy removal.
How do I make the bars easier to remove from the dish?
Line the dish with parchment paper before pressing in the ice cream to lift it out easily for slicing.
Are these kid-friendly?
Absolutely. You can let kids help decorate with sprinkles or crushed cookies.
Can I make these in advance for a party?
Yes, they can be made and stored in the freezer up to a week in advance.
Can I make them smaller for kids?
Yes, use smaller molds or cut smaller portions from a dish for kid-sized treats.
Can I add fruit to the bars?
Yes, swirl in fruit purée or add small bits of fruit before freezing for added flavor.
Do I need a candy thermometer?
No, this recipe doesn’t require one—just follow melting instructions carefully.
Conclusion
Homemade Chocolate-Covered Ice Cream Bars are a customizable, crowd-pleasing treat that brings back the joy of summer with every bite. Whether you keep them simple or dress them up with toppings and layered coatings, these frozen delights are sure to become a favorite go-to dessert. Indulgent, refreshing, and fun—what more could you want?


