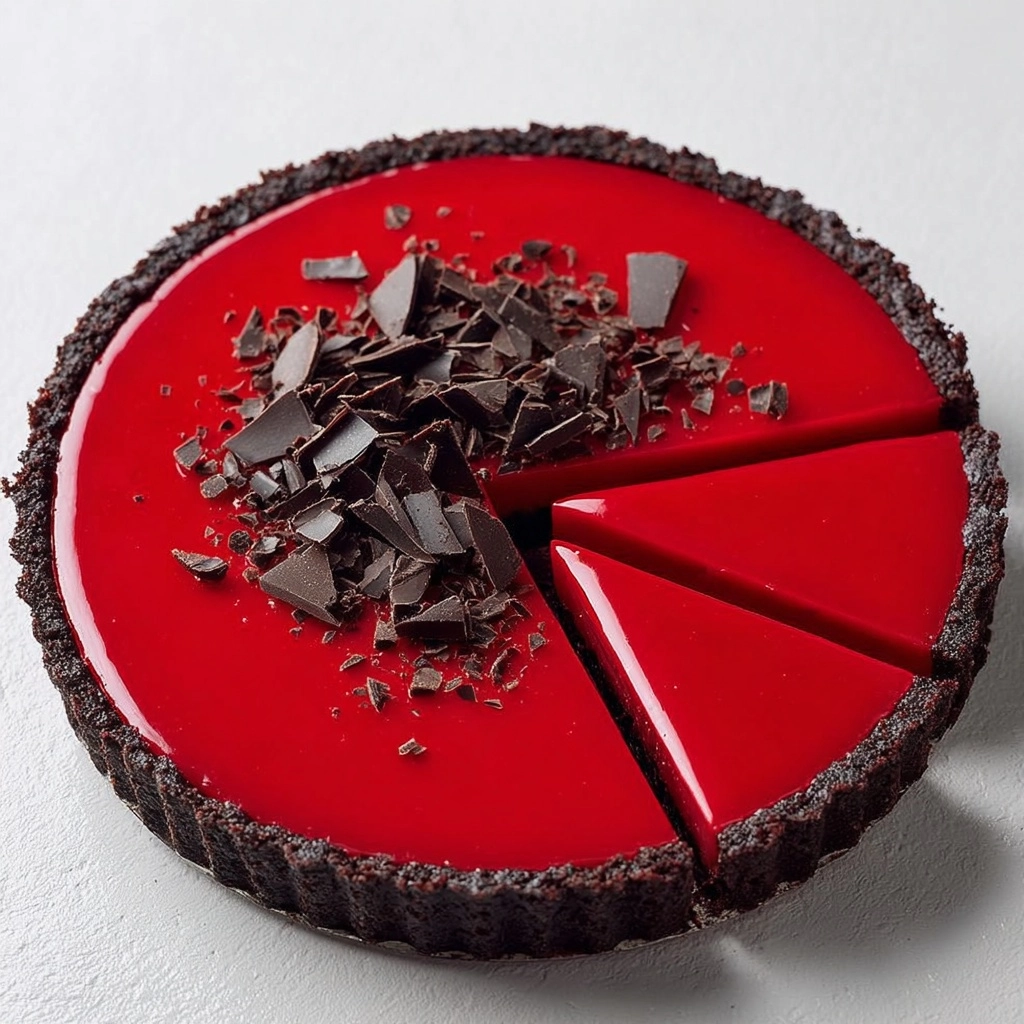
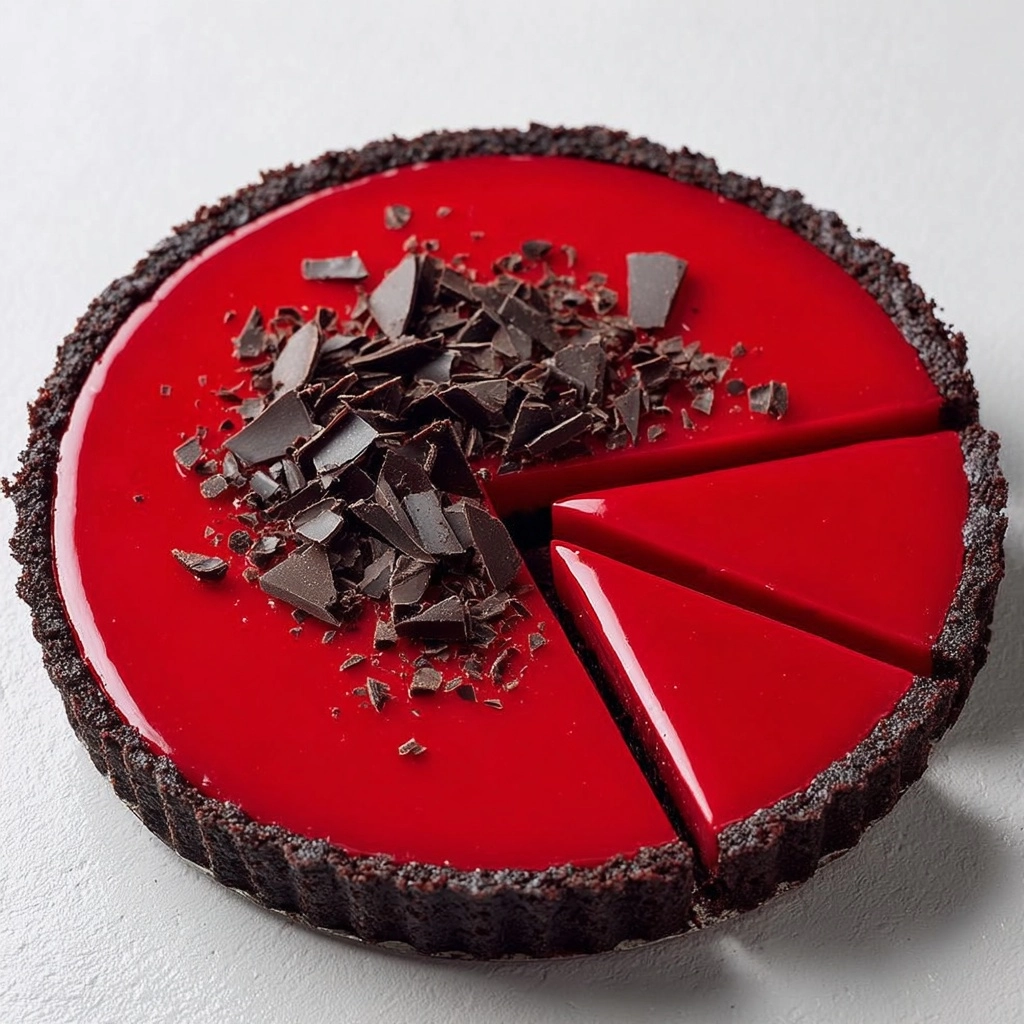
There’s something utterly enchanting about the fusion of vibrant red velvet and rich, creamy cheesecake. This Red Velvet Cheesecake is the definition of show-stopping decadence, a dessert that marries moist crimson cake layers with a velvety smooth cheesecake center—all wrapped up in a luscious cream cheese frosting. If you’ve ever dreamed of the ultimate treat for special occasions or heartfelt gatherings, this one is bound to steal the spotlight and the hearts of everyone who tries it.

Ingredients You’ll Need
This Red Velvet Cheesecake may look impressive, but it comes together with simple pantry staples and a few key dairy products. Each ingredient has its own purpose, from building that signature scarlet crumb to achieving creamy, tangy frosting perfection.
- All-purpose flour: Gives structure and a tender crumb to the red velvet cake layers.
- Granulated sugar: Sweetens both the cake and cheesecake layers while keeping everything moist.
- Baking soda: Helps the cake rise for soft, fluffy layers.
- Cocoa powder: Adds that subtle chocolate note classic to red velvet.
- Salt: Enhances all the other flavors, ensuring every bite pops.
- Eggs: Bind both the cake and cheesecake, adding richness and helping with texture.
- Vegetable oil: Keeps the cake moist for days and adds to its silky texture.
- Buttermilk (room temperature): Lends tanginess and tenderness, while activating the baking soda.
- Red food coloring: Provides that unforgettable, vivid ruby hue synonymous with red velvet.
- Vanilla extract: Weaves a fragrant warmth through every layer.
- White vinegar: Ensures the proper reaction for lifting the cake to just the right fluffiness.
- Cream cheese (softened): Essential for both the cheesecake layer and the frosting; delivers that beloved creamy tang.
- Sour cream: Brings extra smoothness and lushness to the cheesecake filling.
- Unsalted butter (softened): Adds luxurious richness to the frosting, making it ultra spreadable.
- Powdered sugar (sifted): Sweetens the frosting, creating a perfectly smooth finish.
How to Make Red Velvet Cheesecake
Step 1: Bake the Cheesecake Layer
Start by preheating your oven to 325°F (160°C) and lining the bottom of a 9-inch springform pan with parchment paper. In a mixing bowl, blend the cream cheese and granulated sugar until the mixture is completely smooth and free of lumps—this step is the foundation for a dreamy cheesecake center. Add eggs one at a time, mixing well after each addition, then gently incorporate the sour cream and vanilla extract. Pour the creamy batter into the prepared pan and bake for 40 to 45 minutes, until the cheesecake is mostly set but still has a little jiggle at the center. This ensures a luscious, not-overbaked filling. Cool the cheesecake all the way, then refrigerate for at least 4 hours (overnight is even better) to set up nicely and make assembly easy.
Step 2: Prepare the Red Velvet Cake Layers
When you’re ready for the cake layers, increase the oven temperature to 350°F (175°C), then grease and line two 9-inch round cake pans. In a large bowl, whisk together the flour, sugar, baking soda, cocoa, and salt—these dry ingredients anchor the cake’s signature texture. In a separate bowl, beat together the eggs, vegetable oil, buttermilk, red food coloring, vanilla extract, and white vinegar until smooth and beautifully red. Gradually combine the wet and dry ingredients until you have a vibrant batter. Divide it equally between your prepared pans, bake for 25 to 30 minutes, and let the cakes cool completely. Moist, tender cake layers set the stage for everything that comes next!
Step 3: Make the Cream Cheese Frosting
While the layers cool, create the ultimate tangy, creamy frosting. Beat together the softened cream cheese and butter until fluffy and well-blended, scraping the bowl as needed. Gradually add in the sifted powdered sugar; this keeps your frosting smooth and silky. Finish with a generous splash of vanilla extract for a fragrant aroma. You’re looking for a frosting that’s easily spreadable but stable enough to hold the layers together.
Step 4: Assemble the Cheesecake
Here’s where your Red Velvet Cheesecake becomes a true centerpiece. Place one red velvet cake layer on your serving plate and spread a thin layer of cream cheese frosting on top. Carefully position the chilled cheesecake layer over the frosting (take your time to keep the layers even), then add the second cake layer on top. This trio of luscious layers creates those signature stripes when sliced.
Step 5: Frost and Decorate
Now it’s time for the finishing touch! Completely cover the assembled cake with the remaining cream cheese frosting, smoothing the sides and top for a clean, classic look. For a showstopping final detail, crumble any leftover cake edges and sprinkle them around the perimeter or over the top. Chill the cake for at least 30 minutes so the layers can set, making for the neatest, most impressive slices.
How to Serve Red Velvet Cheesecake

Garnishes
No Red Velvet Cheesecake is complete without those vibrant cake crumbs as a garnish—they’re both beautiful and a sneaky bonus bite! You can also add a handful of fresh berries, a light dusting of powdered sugar, or delicate chocolate curls for an elegant twist. Each garnish adds a pop of color and extra flair to your finished dessert.
Side Dishes
This cake shines on its own, but if you want to round out the plate, consider a scoop of vanilla bean ice cream or a dollop of gently sweetened whipped cream to balance the tangy richness. For a special occasion spread, a platter of fresh fruit or even a drizzle of warm chocolate sauce will delight your guests even further.
Creative Ways to Present
Try serving individual slices on vintage plates with a swirl of berry sauce, or build a whimsical dessert table by cutting the cake into mini squares for easy pick-up treats at gatherings. For holidays, tuck edible flowers or themed sprinkles around the top! However you slice it, Red Velvet Cheesecake is always the star of any celebration.
Make Ahead and Storage
Storing Leftovers
Leftovers should be stored in an airtight container in the refrigerator. The Red Velvet Cheesecake stays wonderfully moist and fresh for up to four days—just be sure to cover it well to prevent it from picking up any fridge odors.
Freezing
If you’d like to make this cake ahead or save some for later, you can freeze individual slices or the whole cheesecake. Wrap the cake tightly in plastic wrap and then foil for best results. Frozen slices thaw beautifully overnight in the fridge, and the texture of both the cheesecake and cake layers remains delicious.
Reheating
This dessert is best enjoyed chilled or at cool room temperature, so there’s no need for reheating. Simply remove your Red Velvet Cheesecake from the fridge about 20 minutes before serving for the creamiest texture.
FAQs
Can I make the cheesecake layer in advance?
Absolutely! You can bake the cheesecake layer up to two days ahead. Keep it covered in the fridge until you’re ready to assemble the cake layers, which actually makes assembly smoother and less rushed.
Is it possible to use gel food coloring instead of liquid?
Yes, gel food coloring gives a vibrant red without thinning your batter. Just use a bit less and mix until you reach the perfect ruby shade traditional for Red Velvet Cheesecake.
Can I substitute homemade buttermilk?
If you don’t have buttermilk on hand, simply stir 1 tablespoon lemon juice or vinegar into 1 cup of whole milk and let it stand for five minutes before using. It works like a charm every time.
How do I keep the cheesecake layer from cracking?
Be sure not to overbake, and cool the cheesecake slowly—first at room temperature, then in the fridge. A gentle bake at the right temperature and careful cooling ensure a smooth, crack-free layer.
What’s the best way to slice Red Velvet Cheesecake neatly?
For beautiful slices, dip a sharp knife in hot water, wipe it clean, and slice. Wipe the blade between each cut for those stunning, distinct layers everyone swoons over.
Final Thoughts
This Red Velvet Cheesecake is truly worth every dreamy bite and is sure to become a highlight of your dessert repertoire. Don’t hesitate to try it—the vibrant layers, creamy filling, and swoon-worthy frosting promise a delightful treat that everyone will remember and request again!

